

In the darkroom
Developing your first black-and-white film, step by step
Processing black-and-white film is not about dipping it into a mysterious bath. It means making a latent image visible, removing material that is still light-sensitive, then washing and drying the support. Each stage becomes understandable when it has a clear purpose and its settings come from the documentation for the actual film and chemistry.
Remember this
The usual sequence is loading in darkness, development, stop, fixation, washing and drying. Times, dilutions, volumes and agitation are not universal. Make a worksheet for your film–developer–tank combination and follow product instructions and safety information.
Identify the film and write a working plan
First check the film’s specified process. This guide covers conventional silver-based black-and-white films processed to negatives. A chromogenic monochrome film such as ILFORD XP2 SUPER is normally intended for C-41 processing. A black-and-white picture on a box therefore does not identify the appropriate chemicals.
Record the film, exposure index, developer, dilution, working temperature and tank type. Find the instructions for that exact combination in the manufacturer’s documentation. A time quoted for another dilution or agitation method is not a dependable shortcut: it may change every frame on the roll.
Prepare a clean, ventilated workspace away from food. Label containers, keep safety information available and use the specified protective equipment. Collect and dispose of spent solutions according to product guidance and local requirements. Preparation prevents a search for a bottle or missing instruction while processing is underway.
Practise loading before switching off the light
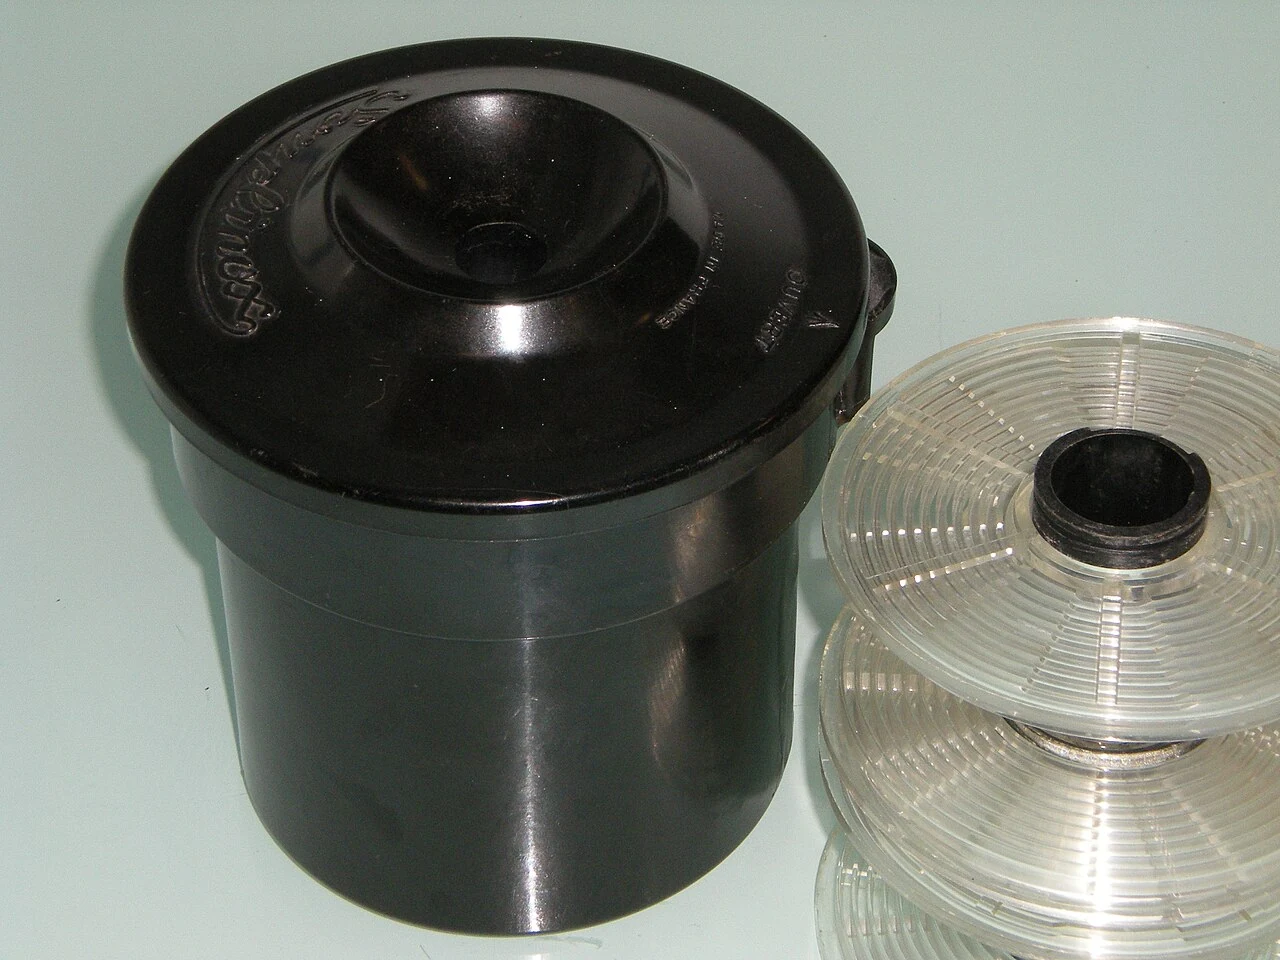
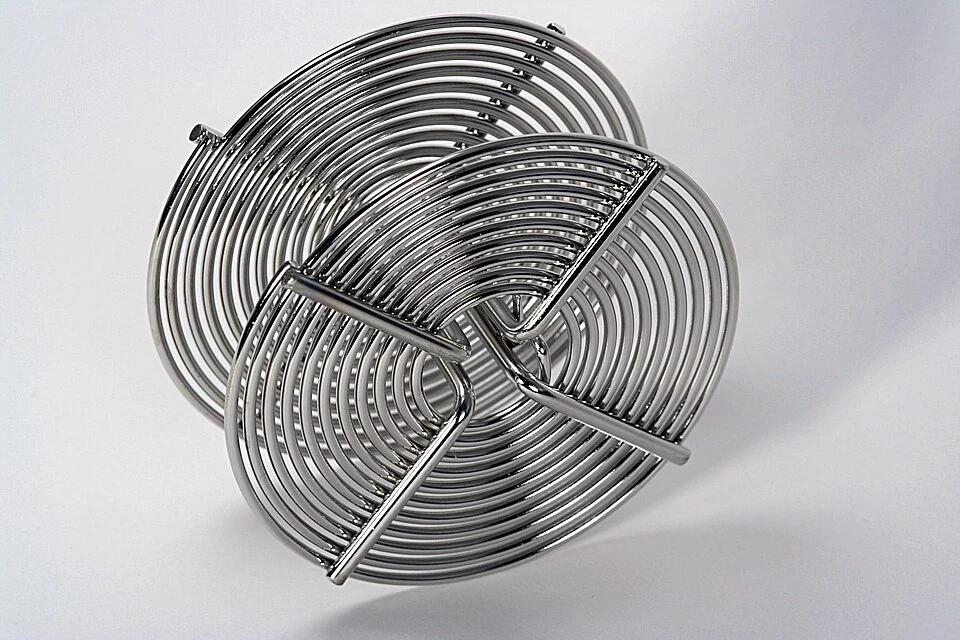
The reel separates successive turns of film so solutions can reach the surface. The tank then excludes light while allowing liquids to pass, provided all light-trap components are correctly assembled. A closed lid is not sufficient protection if a necessary centre column or another essential part is missing.
Practise in daylight with scrap or a sacrificed film. Find the reel entrance and learn the movement that advances the strip without forcing it. Where the design requires dry loading, damp reels can make the job difficult. Arrange scissors, cartridge opener and lid so your hands can find them.
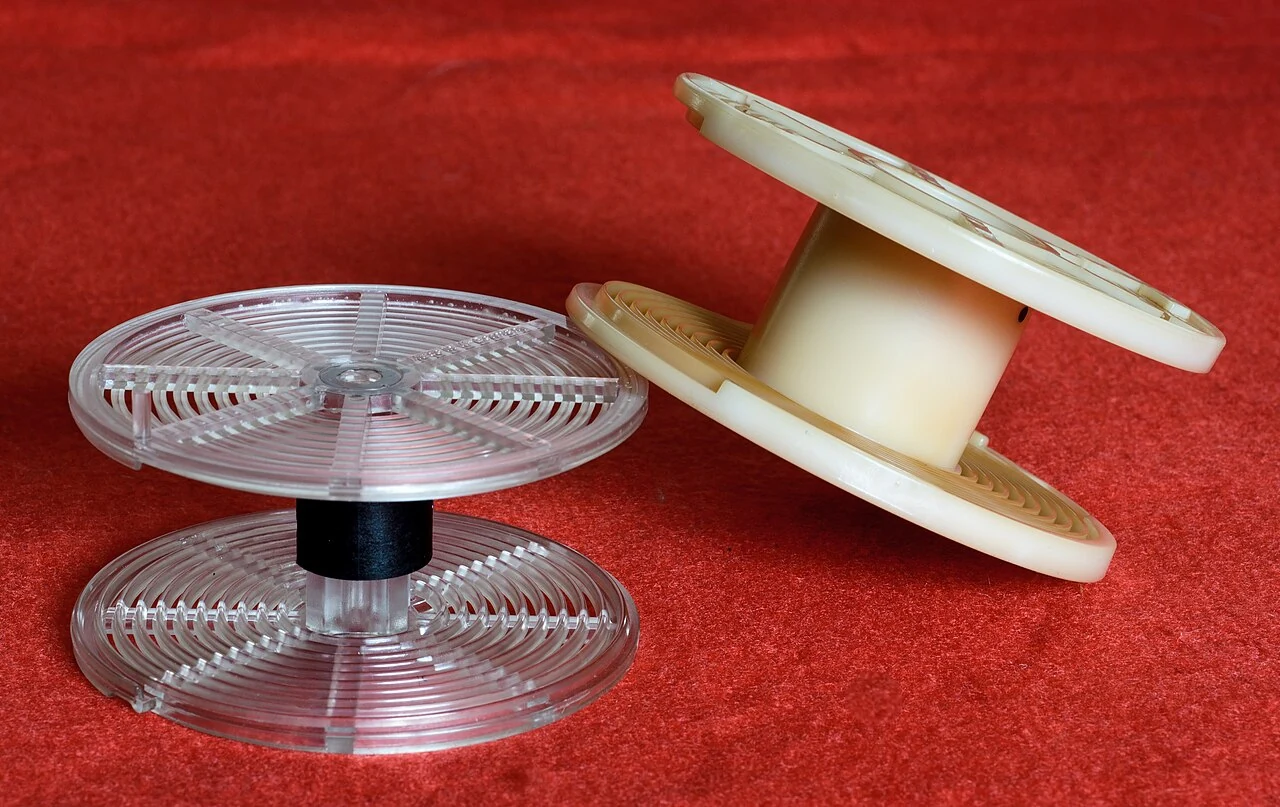

Exposed, undeveloped film must be loaded in complete darkness, using a genuinely light-tight room or suitable changing bag. A paper darkroom’s red safelight does not protect ordinary panchromatic film. Once the tank is correctly sealed, the steps compatible with its design can continue in room light. Do not open it to inspect the film before fixation.
Developer makes the latent image visible
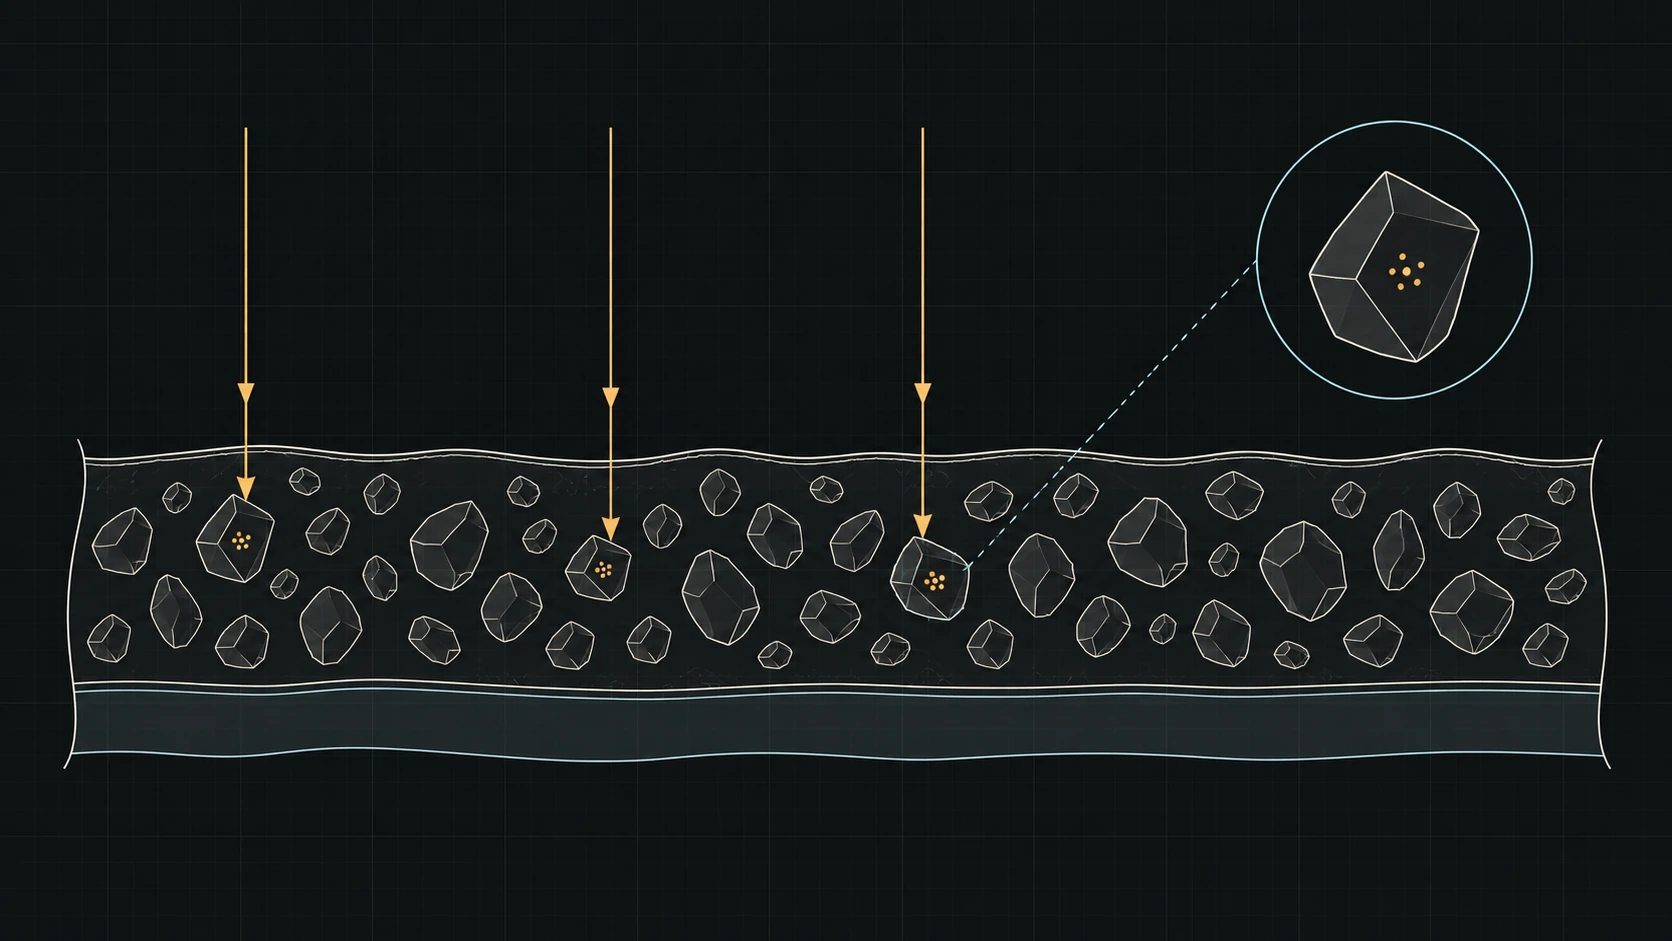
Developer preferentially converts exposed grains to metallic silver, building negative densities. Its selection affects the balance of usable sensitivity, contrast, texture and apparent sharpness. No developer automatically makes every film more detailed or correctly exposed regardless of how it was photographed.
Mix according to the instructions, measure temperature and provide the required working volume for both film and tank. Development time depends on chemistry, dilution and agitation, among other conditions. Measure before starting rather than inventing corrections during processing. A numerical recommendation is meaningful only alongside its stated conditions.
Agitation renews the solution against the emulsion. Follow the documented motion and frequency instead of changing technique halfway through. Use the specified timing convention, including how filling and draining are treated. Record what actually happened: a reproducible routine is more valuable than an unexplained success.
Stopping and fixing do different jobs
The stop stage interrupts or limits further development and reduces developer carry-over. Depending on the documented process, it may use a dedicated product or another prescribed sequence. Do not improvise a household mixture or assume a substituted stage preserves the original timing and solution capacity.
Fixer removes undeveloped silver halides so the negative can be handled in light. It does not replace developer or provide a contrast adjustment. Working conditions depend on film, product, dilution, solution condition and remaining capacity; previously used fixer is not necessarily equivalent to a fresh solution.
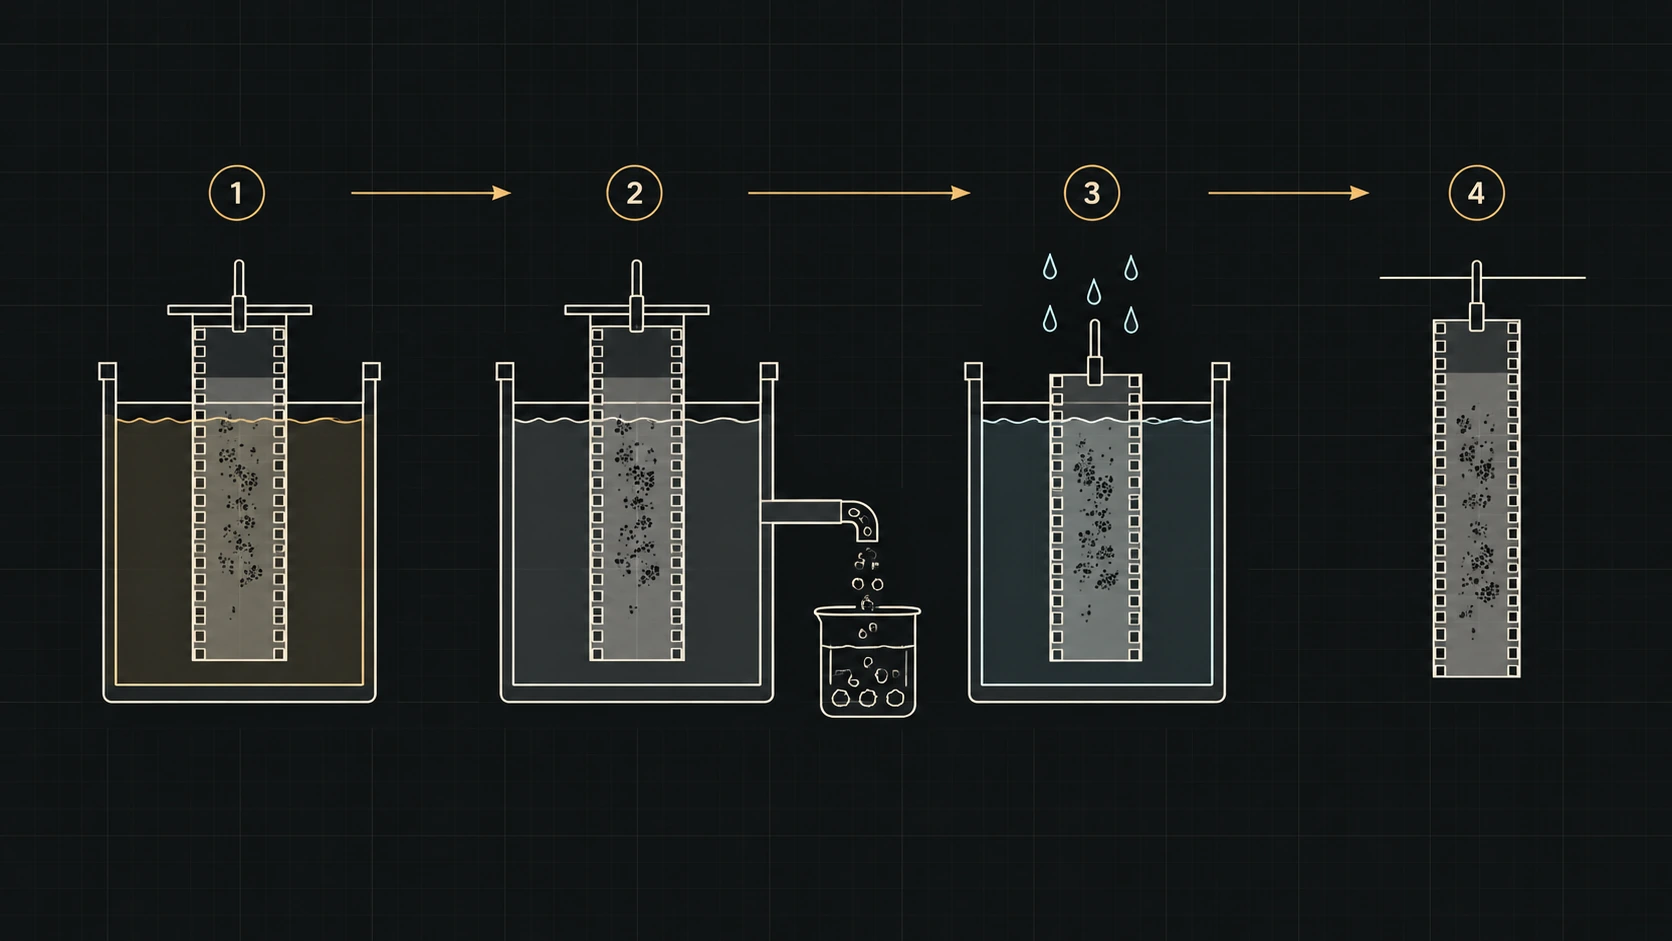
Do not decide when to open the tank simply by looking at a liquid. Follow the fixation procedure and checks recommended by the manufacturer. If something goes wrong, document the sequence rather than stacking improvised corrections. Knowing what was developed, fixed and washed helps diagnose a problem without further damaging a unique original.
Wash and dry without introducing new marks
Washing removes processing residues and is distinct from fixation. Choose the method specified for the film and fixer. A water-saving sequence recommended with certain non-hardening fixers is not automatically valid for every process. Follow relevant guidance and avoid abrupt temperature changes between stages.
A wetting agent, where specified, promotes more even water drainage during the final rinse. Keep to its dilution: adding more is not a guarantee against drying marks. Handle film by its edges and minimise contact with wet emulsion. A scratch or embedded dust will not be repaired by changing contrast later.

Hang the strip securely in a clean, quiet place and let it dry as instructed. Avoid dirty airflow or improvised heat. Wait until it is completely dry before cutting and putting it in suitable sleeves. Wet film is vulnerable; a rushed final minute can damage an otherwise carefully processed roll.
Read the negative before blaming its grain
Examine dry film by transmitted light, including its margins and edge markings. Compare frames for missing detail, very dense areas and recurring marks or scratches. Scanning also interprets a negative. A harsh digital result alone does not prove that the original negative is beyond useful recovery.
Keep a processing record covering exposure index, products, dilution, temperature, time, agitation and observations. Change one variable for the next test. If lighting and scanning also change between differently developed rolls, their differences cannot be assigned confidently. Consistency creates a foundation for deliberate creative decisions.
Finally distinguish processing from rescue. Push development can alter density and contrast in recorded information, but does not recreate detail that exposure never recorded. For a first roll, aim for a usable negative and a repeatable method. With that foundation, the darkroom becomes a photographic tool rather than a sequence of guesses.
Sources and further reading
- ILFORD Photo — Beginners Guide to Processing Film
- ILFORD Photo — Processing Your First Black & White Film
- ILFORD Photo — Introduction to Film Developers
- ILFORD Photo — RAPID FIXER technical information
- ILFORD Photo — Film FAQs
- ILFORD Photo — ILFOTOL wetting agent
- ILFORD Photo — Product brochure, XP2 SUPER and C-41
- ILFORD Photo — Health & Safety
From reading to making images
Explore filmsKeep exploring
All stories

Film: light becomes matter.
How an emulsion records light, how development reveals the image and how photographic film is manufactured.
Read the story
A lens is more than glass.
From optical glass and polishing to coatings and assembly: the steps and compromises that shape a photographic lens.
Read the storyShare this article
An idea worth passing on.