
In the darkroom
Exposing a negative: keep shadow detail and protect the light
A white shirt in sunlight and a face beneath an arch may require different decisions within the same scene. Exposure chooses which information is recorded before printing chooses its appearance. This article concerns negative film; a transparency and a digital file do not behave in exactly the same way.
Remember this
Identify the shadows where detail matters, meter relevant light and consider the highlights. Latitude is not unlimited permission to overexpose. Film, processing, scanning and the intended output all influence the usable result.
What the meter actually measures
A reflected-light meter receives light returned by the scene. It does not know that a wall is white or a coat should remain black. An isolated reading offers a rendering reference; the photographer must decide whether that reference suits the subject and the intended atmosphere of the photograph.
An incident reading is taken in the subject’s light, with the instrument oriented appropriately. It reduces the influence of object reflectance without automatically solving backlighting or uneven illumination. You still need to decide which part of the scene should determine the exposure you actually use.
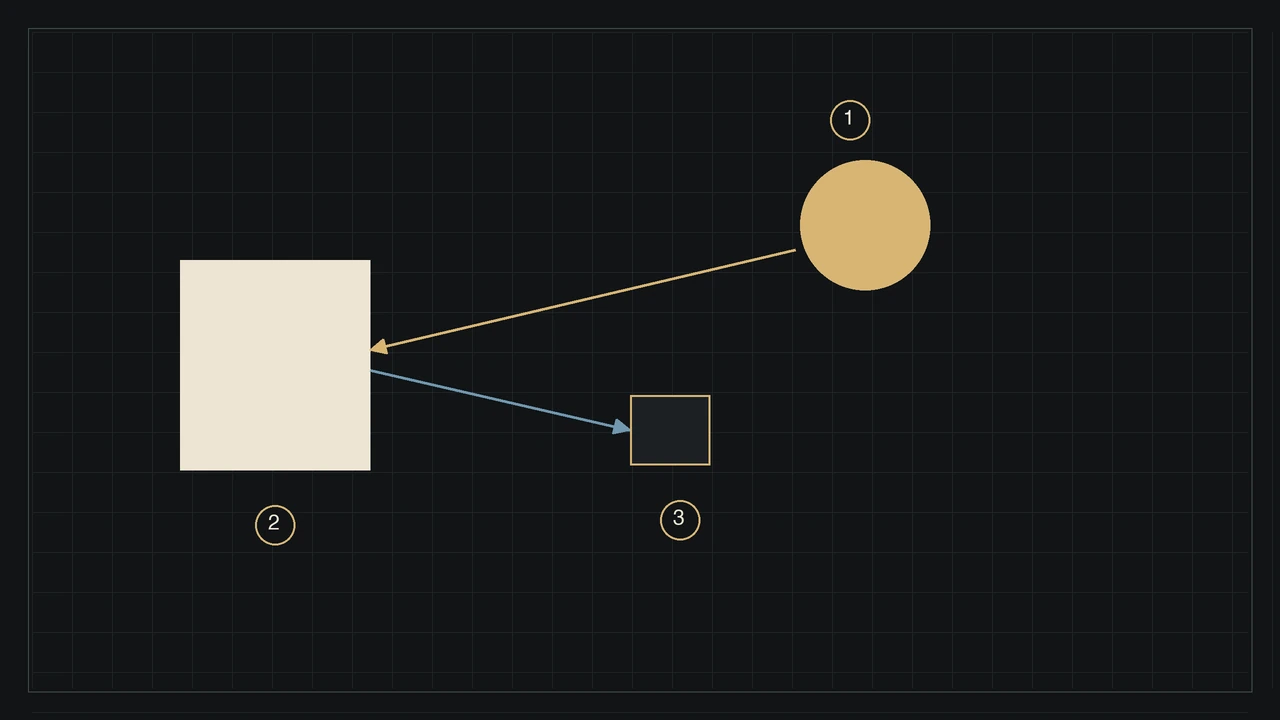
In snow, compare a general reading with a representative area and, when possible, an incident reading. Avoid memorising one correction for every winter photograph. A sunlit snowfield filling the frame and a portrait sheltered beneath a snowy roof present different lighting situations to the same meter.
Why a dense negative can produce a bright image
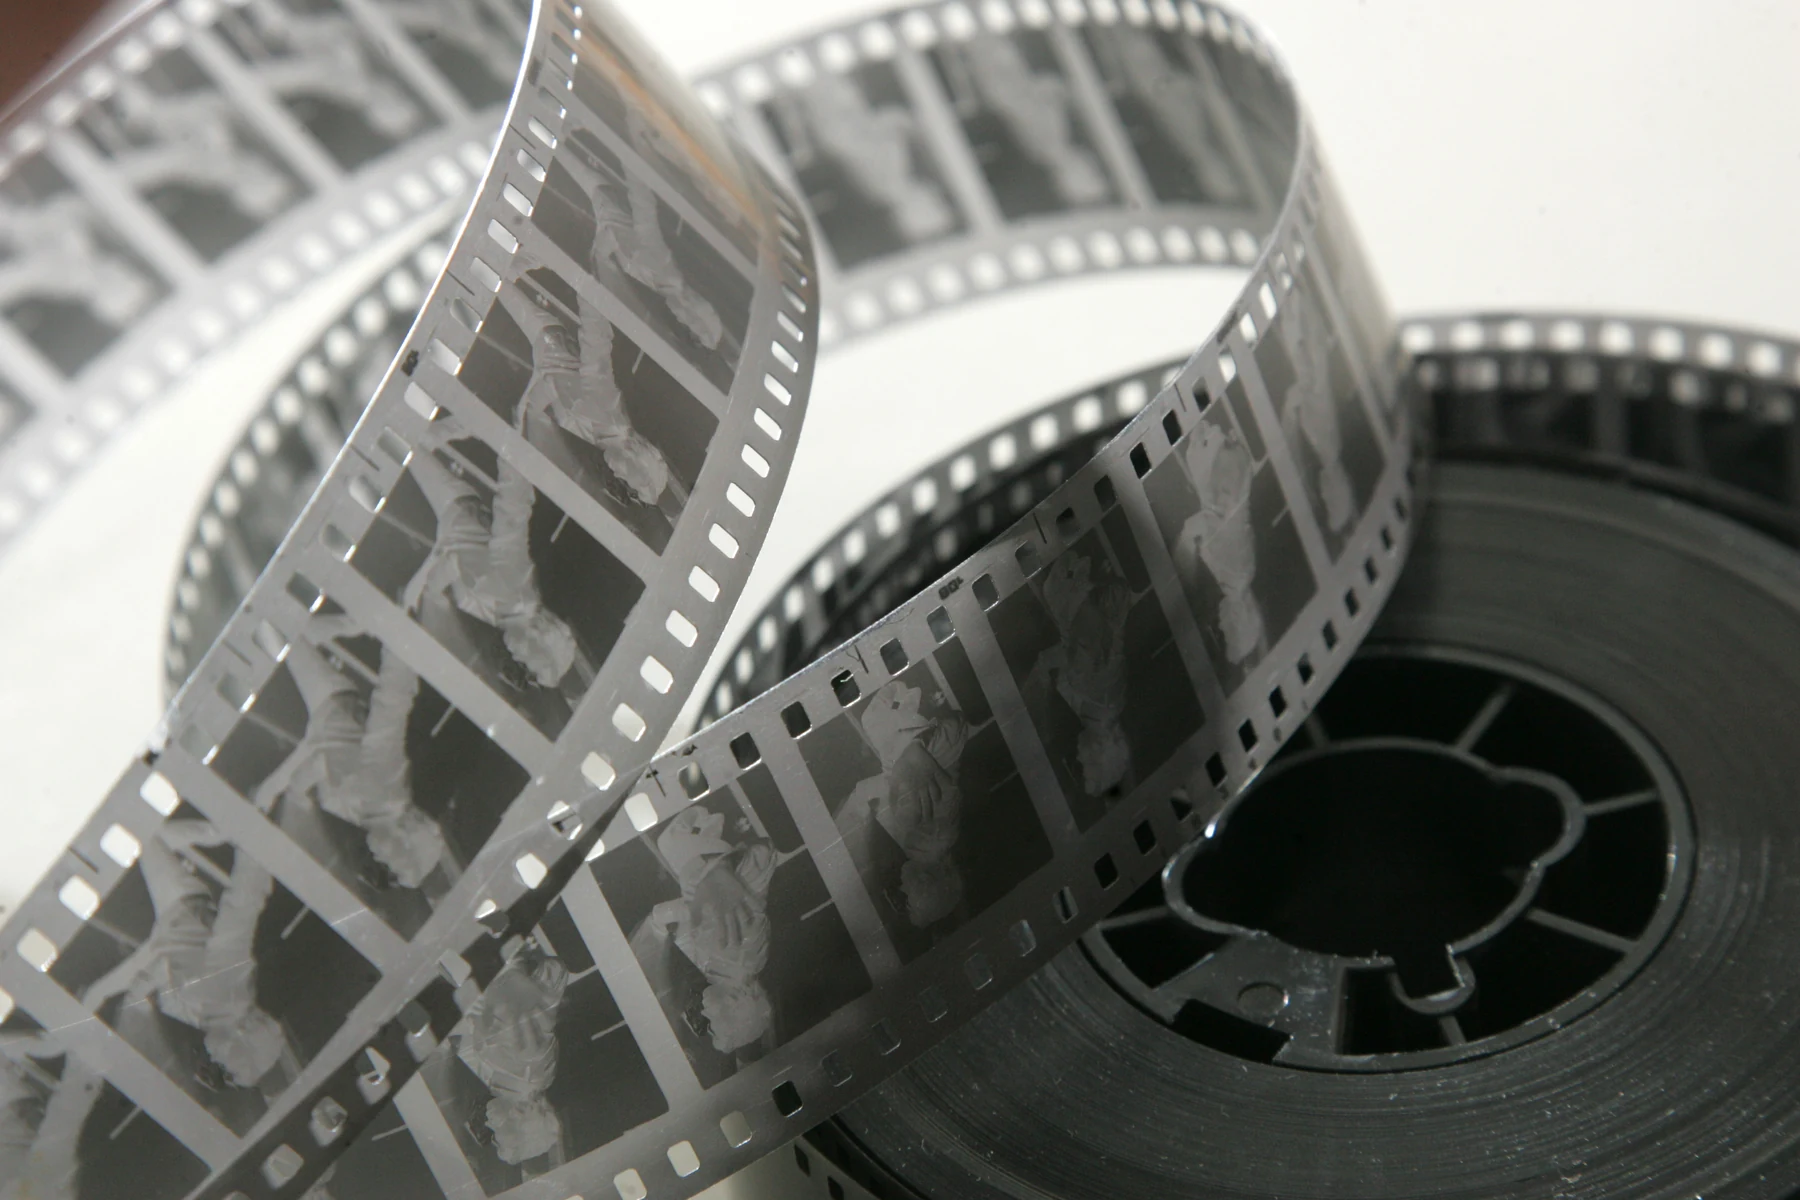
On negative film, an area receiving more light generally becomes denser after the specified processing. Printing or digital conversion then reverses the values. A very dark region of the negative is therefore not sufficient evidence that the final photograph must look dark or be unusable.
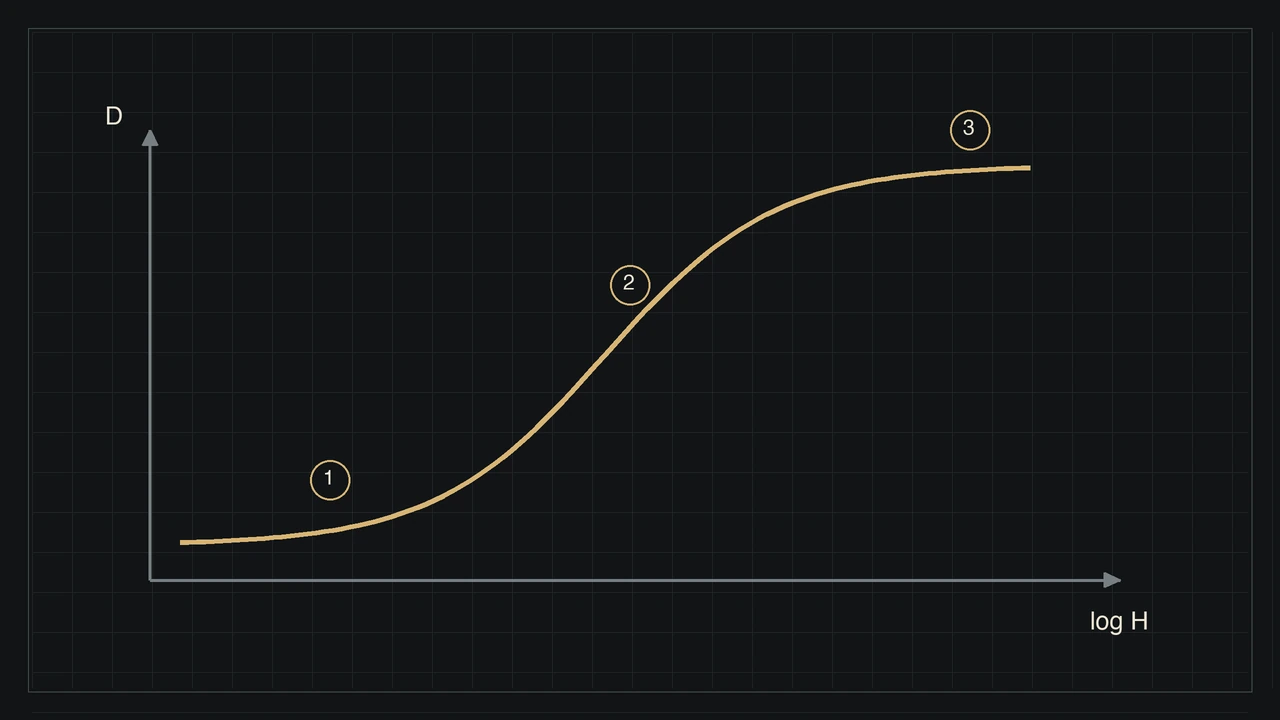
Characteristic curves connect exposure with density under specified conditions. The toe, intermediate region and shoulder help describe a progressive response. They are not one universal curve that can be applied unchanged to every stock, developer, processing temperature or laboratory procedure you might encounter.
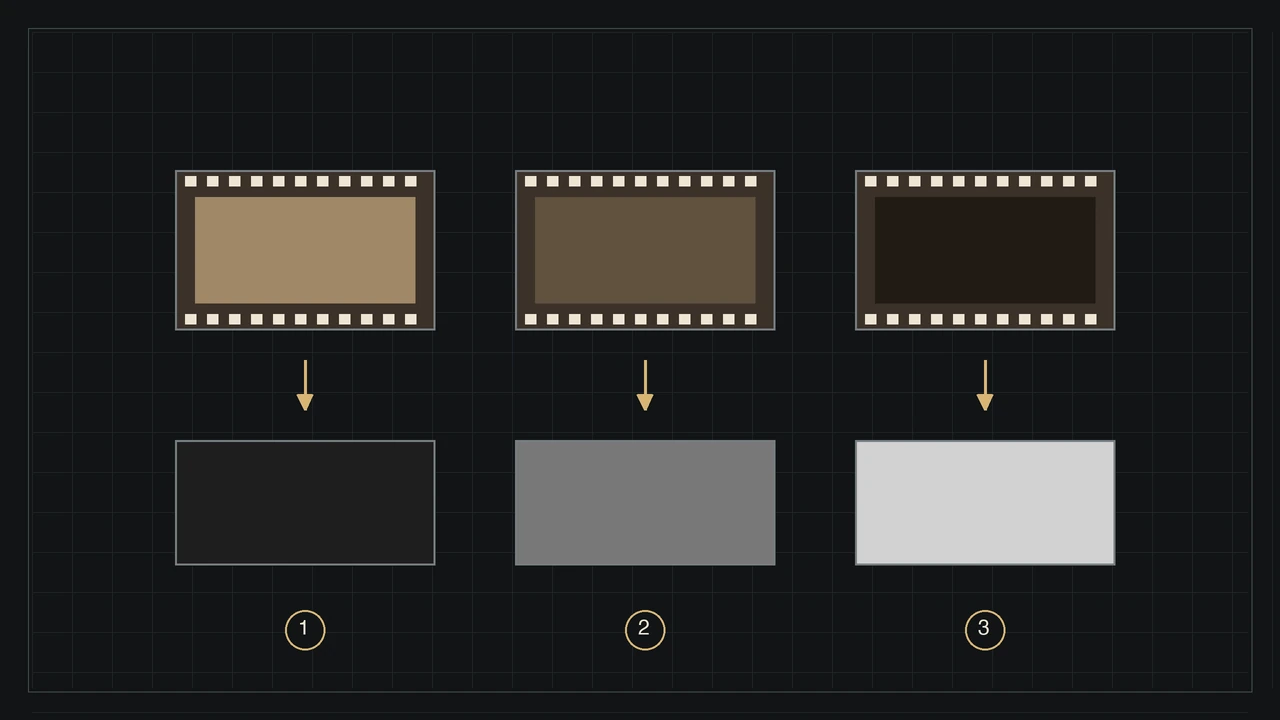
Do not assess exposure solely from an automatically corrected JPEG. A conversion may brighten an underexposed frame or darken a dense one. Look at the physical negative, the retained details and the scanning settings as well: file brightness alone cannot explain everything that happened during capture.
Shadows need to receive enough light
An insufficiently exposed shadow offers little separation between its details. Brightening the scan may reveal fog, texture or scanner limitations without restoring information about the subject. A lighter-looking file and a better recorded description of the scene are different outcomes and should be judged separately.
For a portrait beneath an arch, ask whether hair needs to remain distinct from dark clothing. A reading of the bright sky alone may not serve that intention. Metering the important area and interpreting that reading is more useful than looking for settings described as perfect for every scene.
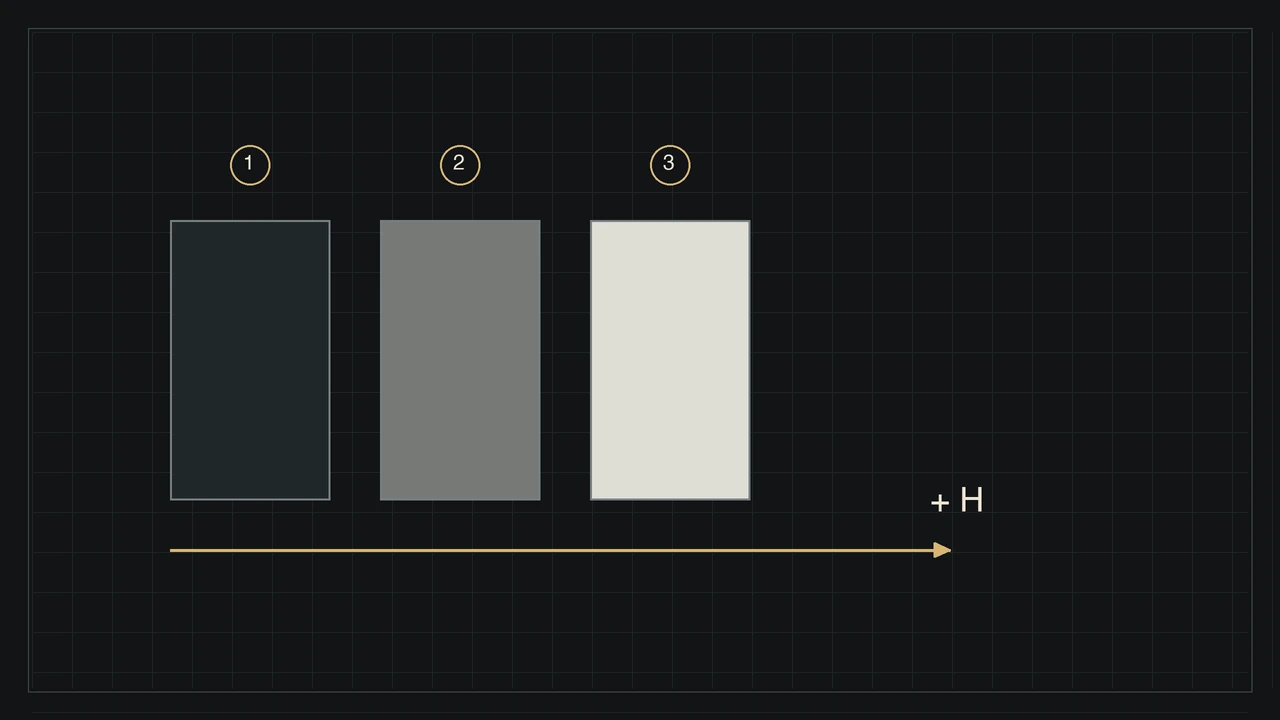
When the lighting range is too large, you can change viewpoint, wait for softer light or accept a silhouette. These are photographic decisions rather than failures to correct later. Automatically increasing exposure is not the only option and cannot guarantee that every highlight will remain easy to reproduce.
Latitude, contrast and scanning impose different limits
Latitude describes a usable exposure margin according to a chosen result criterion. It does not replace the scene’s luminance range or the scanner’s capabilities. A negative may preserve differences that your reproduction chain struggles to show, particularly in its densest regions or at the intended enlargement.
Colour negatives and transparencies have different responses. The tolerance commonly associated with negative film cannot simply be transferred to positives intended for direct viewing. Consult the data sheet for the particular stock and make a practical test using the laboratory and reproduction process you normally use.
If two scans of one negative differ, do not immediately attribute the difference to film. Conversion profiles, black and white points, scanner exposure and automatic corrections all contribute. Request a lightly corrected version when you want to investigate the exposure decisions made at the camera.
An exposure test that answers a real question
Choose a stable scene with dark texture, skin or a middle tone, and a textured light surface. Make exposures around a recorded reference reading. Keep framing, light, film and processing consistent so the comparison does not accidentally combine changes in several unrelated parts of the workflow.
Process the frames together and request consistent conversion without individually normalising their brightness. Compare the details that matter at a realistic output size. The aim is to identify a useful working margin for your practice, rather than publish a stop count that supposedly applies to every film.
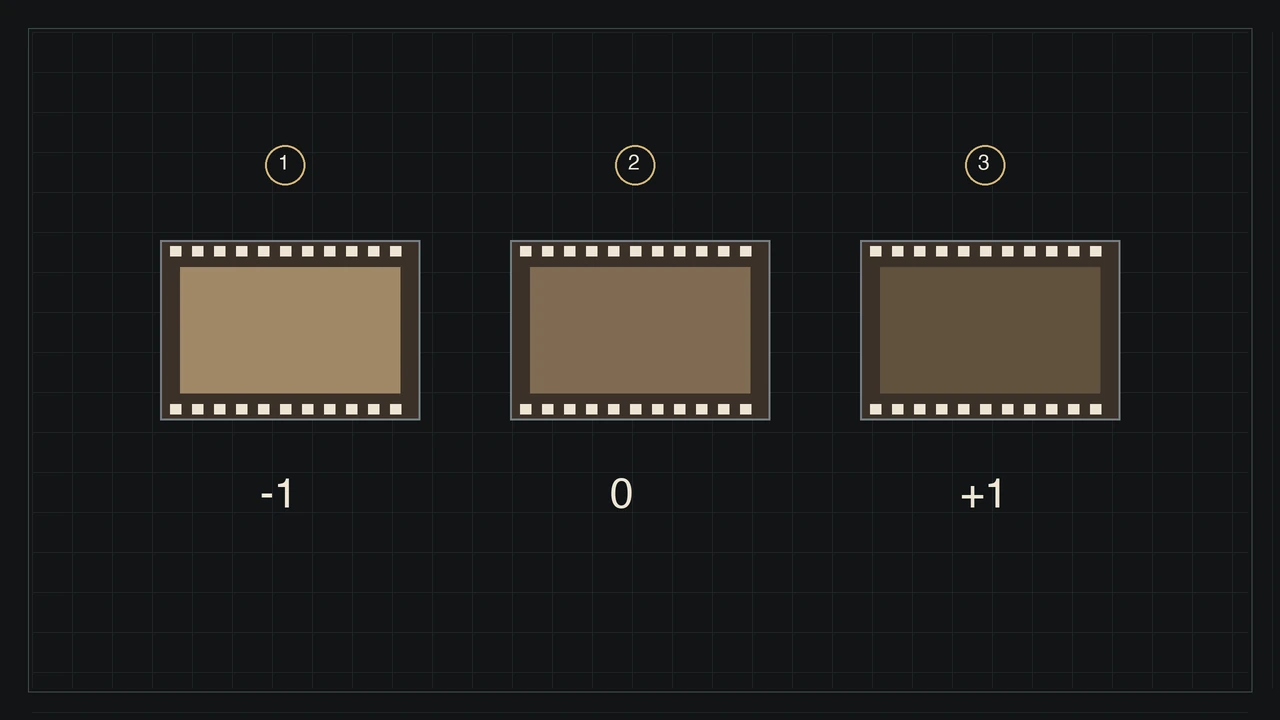
Keep this test separate from a digital look. In Kolorshift, selecting a rendition or adjusting light interprets an already recorded image; it does not change the past exposure of physical film. Continue with pushing and pulling film to distinguish capture from processing.
Sources and further reading
From reading to making images
Explore filmsKeep exploring
All stories
Pushing film: what the laboratory actually changes
ISO, exposure index, contrast and grain: understand push and pull without promising to recreate missing shadows.
Read the story
Colour negative and slide film: two paths to colour
Understand dye images, the orange mask and the differences between C-41, E-6 and RA-4 colour printing.
Read the storyShare this article
An idea worth passing on.