

Understanding
Glow and bloom: where do soft highlights come from?
A lamp appears wrapped in light, a window spills softly onto its surroundings, a portrait looks less harsh without becoming entirely blurred. We often call these impressions glow, bloom or diffusion. The words describe related appearances rather than one single cause. Separating light redistribution, contrast reduction and possible detail loss makes the differences clearer.
Remember this
Diffusion can combine highlight spread, reduced contrast and softened detail in different proportions. Glow and bloom vary between manufacturers and software: they do not establish a universal physical boundary. Radiant highlights should not erase the subject or excuse whites with no useful information.
Redistributing light around its main image
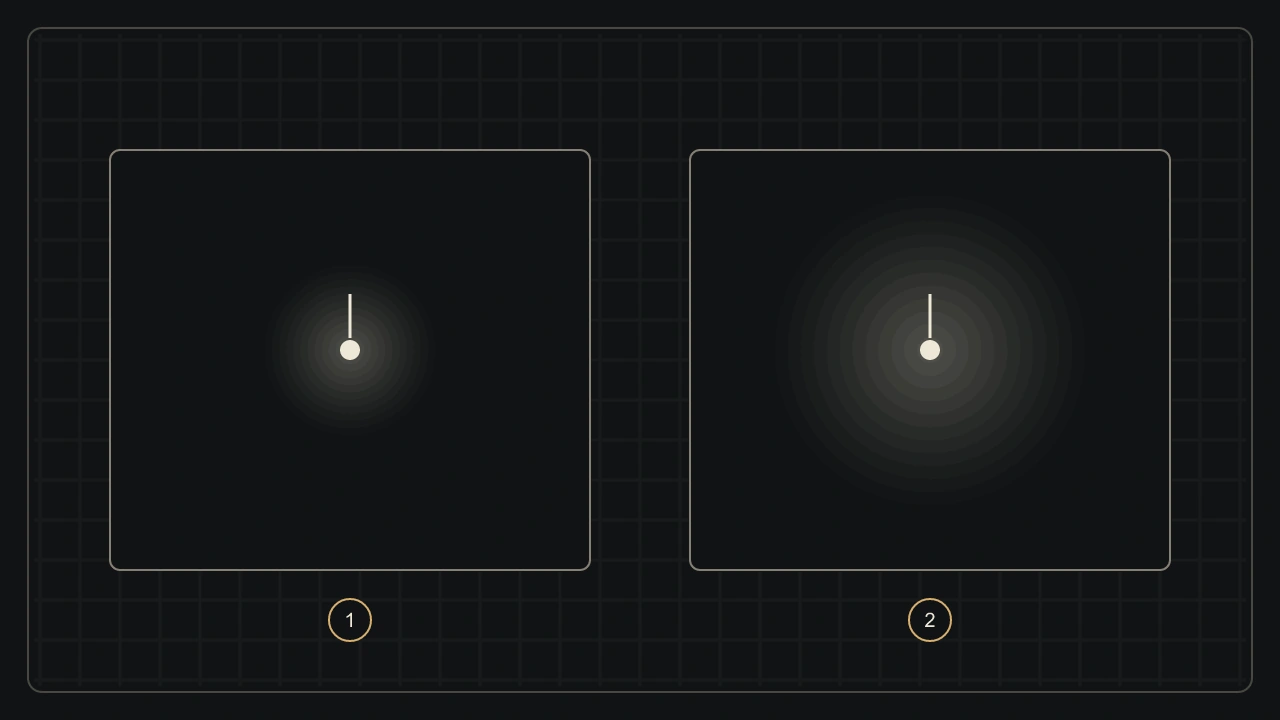
A light point is never reproduced as a perfect mathematical point. An optical system distributes its light around a principal image. A diffusion device can change this distribution: part remains concentrated and part spreads further. The photograph may show a bright core with a softer surrounding transition, rather than every subject being replaced with the same uniform blur.
A window edge is an accessible example. Redistributed light reaching the image of the neighbouring dark wall makes the separation appear less harsh. The wall has an additional veil in the recorded image. This changes local contrast even if the frame lines remain recognizable. Apparent sharpness does not mean that every detail has been physically preserved unchanged.
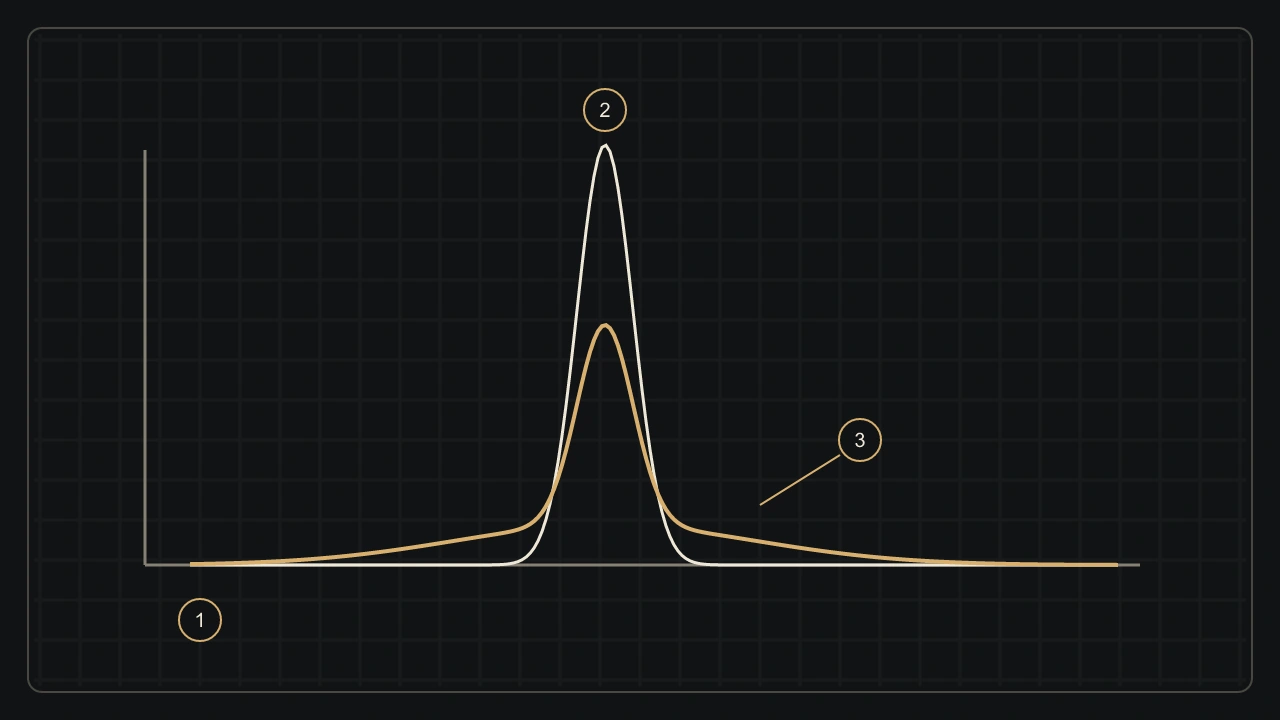
The response depends on the particular filter or system. Some designs emphasize highlight spread, while others soften fine detail or overall contrast more noticeably. Describing what changes in a specific scene is more helpful than claiming that an entire filter family always produces one identical halo. The diagram illustrates the principle without assigning a measured performance to a product.
Three observations: spread, contrast and detail
Tiffen’s diffusion guide distinguishes filter behaviours involving highlight spread, contrast reduction and resolution softening. These dimensions can interact without being identical. A filter that calms fine facial detail need not produce a large ring around each lamp. Equally, an obvious light halo does not by itself describe the appearance of skin or clothing.
Look first at light sources, then at a dark region and finally at a fine texture. Lights reveal spread; shadows reveal a possible veil; hair, fabric and architecture reveal detail visibility. These observations complement a simple before-and-after comparison. They avoid choosing an effect only because its most spectacular part attracts immediate attention.
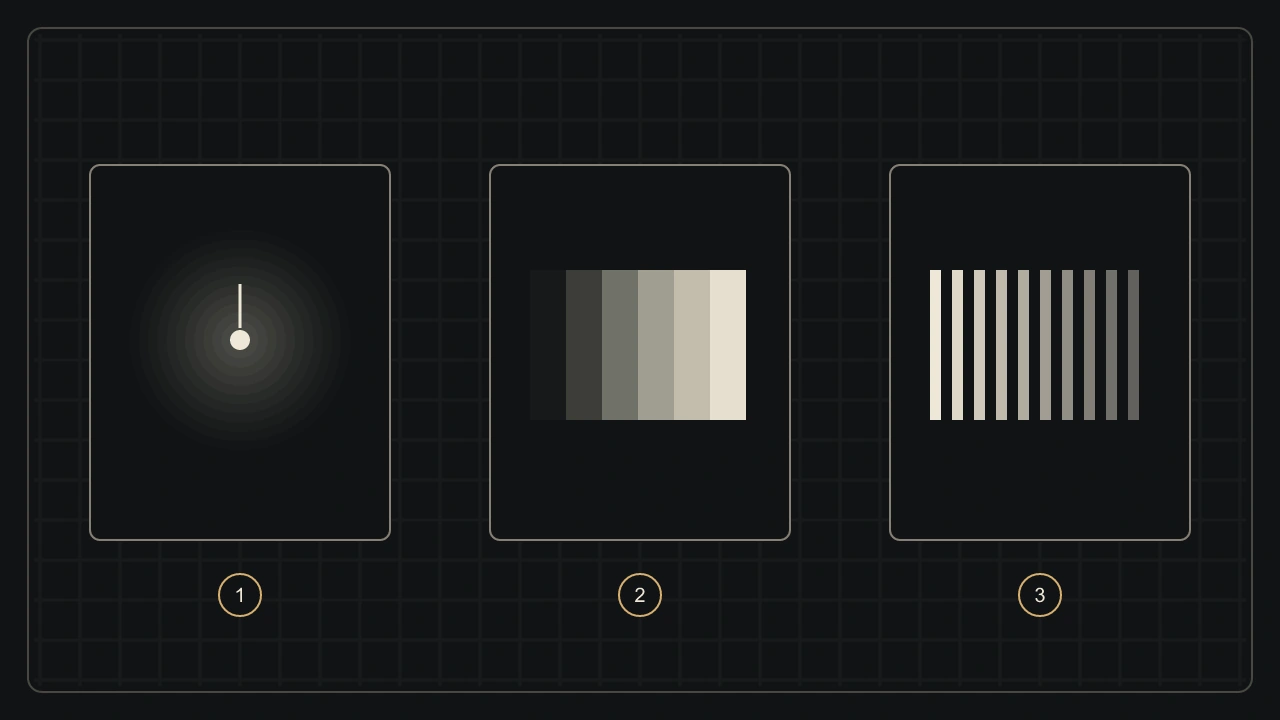
Strength markings belong to a particular range. A number on a filter or software slider is not a universal unit of diffusion. Test under conditions similar to your work: framing, focal length, apparent light size, aperture and output. A number alone cannot describe the entire image or provide an exact conversion between different optical filters and digital tools.
Why a night lamp glows more visibly than a white sky
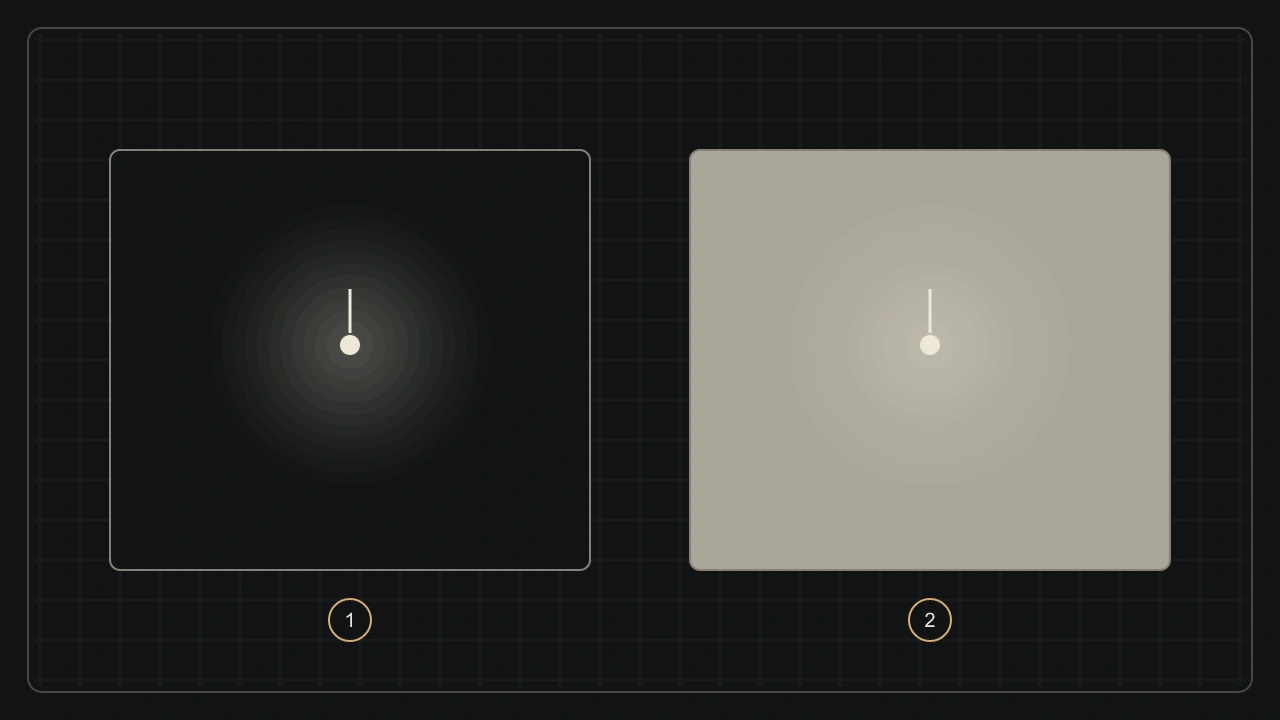
Contrast makes spread visible. A small intense light against a dark background provides an easy boundary to follow; a white sky above a pale wall provides much less separation. There is no need to invent two entirely different effects to explain that change. Available light and neighbouring tones contribute to the impression of glow.
Composition also changes the apparent size of light sources. A distant street lamp, a nearby window and a reflection in glasses occupy different areas in the image. Their transitions will not read alike. A setting that works for a wide view may cover too much detail in a portrait. Testing again after reframing is often more informative than copying a remembered value.
Atmospheric haze or dirty glass can scatter light too. These are shooting conditions rather than properties of the selected filter alone. Check equipment cleanliness and what lies between subject and lens before assigning a signature look. A deliberate effect benefits from being repeatable, rather than depending on an unidentified accident or contamination.
Glow and bloom are usage terms, not opposing laws
In photography and image making, glow often describes soft radiance. Bloom can refer to a more conspicuous expansion of highlights. These are common uses, not a nomenclature that everywhere assigns two separate mechanisms. The names can overlap or refer to different controls depending on the maker, filter or software implementation.
Describe observable qualities instead: broad or tight spread, neutral or tinted light, preserved or reduced overall contrast, readable or strongly softened texture. This supports a more precise discussion than calling something cinematic. The same label does not guarantee the same transformation, and differently named tools may produce similar-looking results. Compare their behaviour rather than relying on vocabulary alone.
Some filter descriptions also use halation to describe luminous spill. In a film article, the term more specifically concerns secondary exposure from returning light within the material. Keeping the context clear avoids describing every diffusion effect as film chemistry. The same-looking bright edge does not automatically imply the same physical process.
Separate diffusion, flare and missed focus
Unwanted reflections in a lens can produce flare: a veil that lowers contrast or ghost images of the source. Canon and Panasonic explain the role of optical surfaces and anti-reflection coatings. Patches can be displaced and change with framing; they are not simply a regular soft ring around every light in the scene.
A subject outside the focus zone becomes blurred because its image does not form correctly in the chosen recording plane. Diffusion is another change in light propagation, although both can coexist. Adding softness to an already out-of-focus eye cannot recreate detail that was never recorded. A convincing-looking glow is not a repair for missed focus.
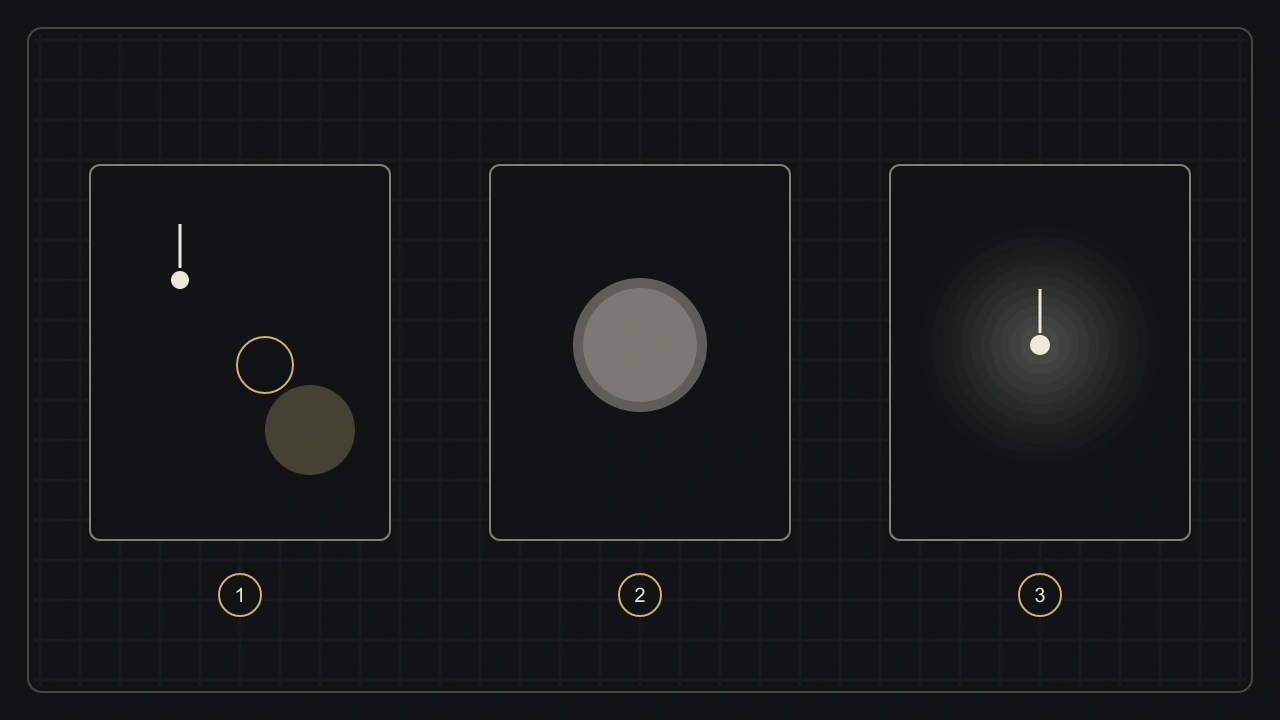
Inspect an edge, small lettering or a subject detail at the intended output size. Then observe what changes as a source approaches the frame edge. This is a reading aid, not certain identification of a particular lens. One photograph can combine several causes of contrast or sharpness loss, so it is useful to change only one condition at a time.
Control the effect without flattening the photograph
Start with important features properly exposed and in focus. Compare a reference and a diffused version at comparable presentation brightness. Observe the light, but return to the subject: a face should remain readable, fabric should retain the texture you want, and a building should keep its useful lines. Brightness alone should not decide which version seems more attractive.
Increasing spread can lift tones near a light and reduce their contrast. That does not recover information already lost in highlights. Reduce the effect if a halo becomes a uniform patch or shadows lose useful separation. A soft image can retain deep blacks: softness does not require turning the whole photograph grey. The goal is a chosen transition rather than a blanket loss of structure.
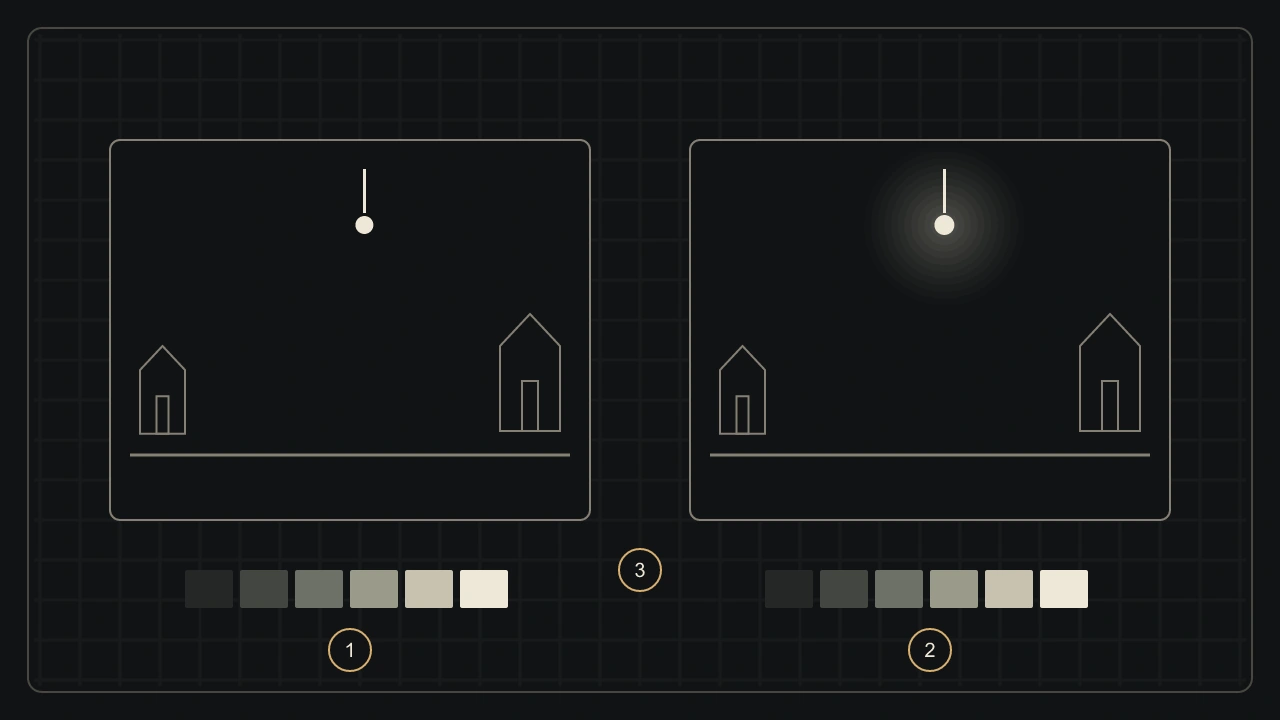
An effect added afterwards interprets an existing file; a filter in front of the lens changes light before recording. Both approaches can be creative without being interchangeable in every scene. When editing, work on a copy and keep a reversible reference. The right amount supports the atmosphere and the subject, rather than proving that the strongest setting was used.
Sources and further reading
From reading to making images
Explore effects in Labo FXKeep exploring
All stories
Halation: why bright lights spill across film
Reflected light, anti-halation layers and red halos: understand remjet, AHU and the differences between film halation and optical glow.
Read the story
A lens is more than glass.
From optical glass and polishing to coatings and assembly: the steps and compromises that shape a photographic lens.
Read the storyShare this article
An idea worth passing on.