

Optics
Bokeh is more than a blurred background
Two portraits have similarly blurred backgrounds, yet one feels calm and the other restless. Bokeh describes the character of out-of-focus areas, rather than simply the amount of blur. Geometry, aberrations and the content of the scene all contribute to the impression.
Remember this
Separate where you focus, what range looks acceptably sharp and how the blur is rendered. A high blade count does not guarantee beautiful bokeh. Distances and background content matter too, while the preferred appearance remains an aesthetic choice.
Depth of field is an acceptable-sharpness criterion
Focusing favours one distance, but we often accept nearby regions in front of and behind it as sharp. That range depends on a chosen tolerance. There is no universal physical boundary at which the world suddenly changes from perfect sharpness to complete blur for every output size and viewing situation.
A circle of confusion represents that tolerance in many calculations. Its chosen size depends partly on enlargement and expected viewing conditions. A small print viewed from a distance and a large photograph inspected closely do not necessarily require the same apparent level of detail to be judged satisfactorily sharp.
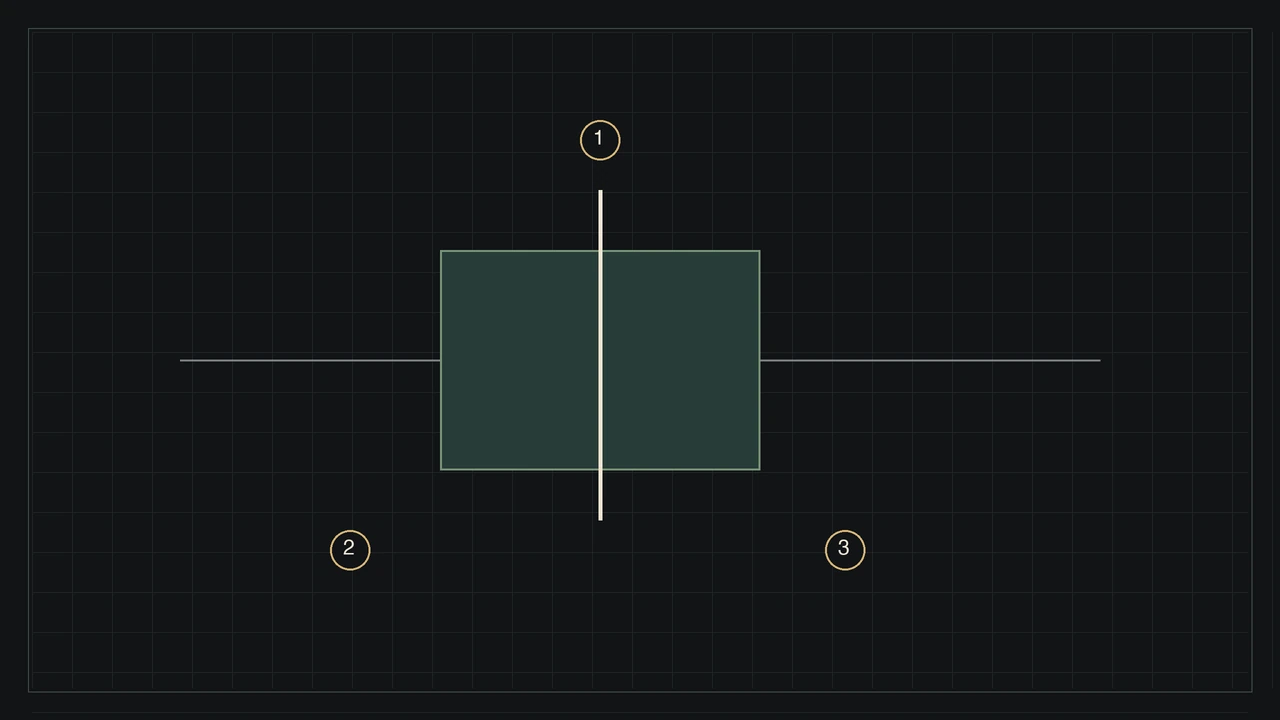
Depth-of-field scales remain useful guides, but they do not replace inspecting the result. In a group portrait, check the important faces at the intended display size. An attractive background will not necessarily compensate for a second face falling too far outside the region you wanted to preserve.
Aperture and distances work together
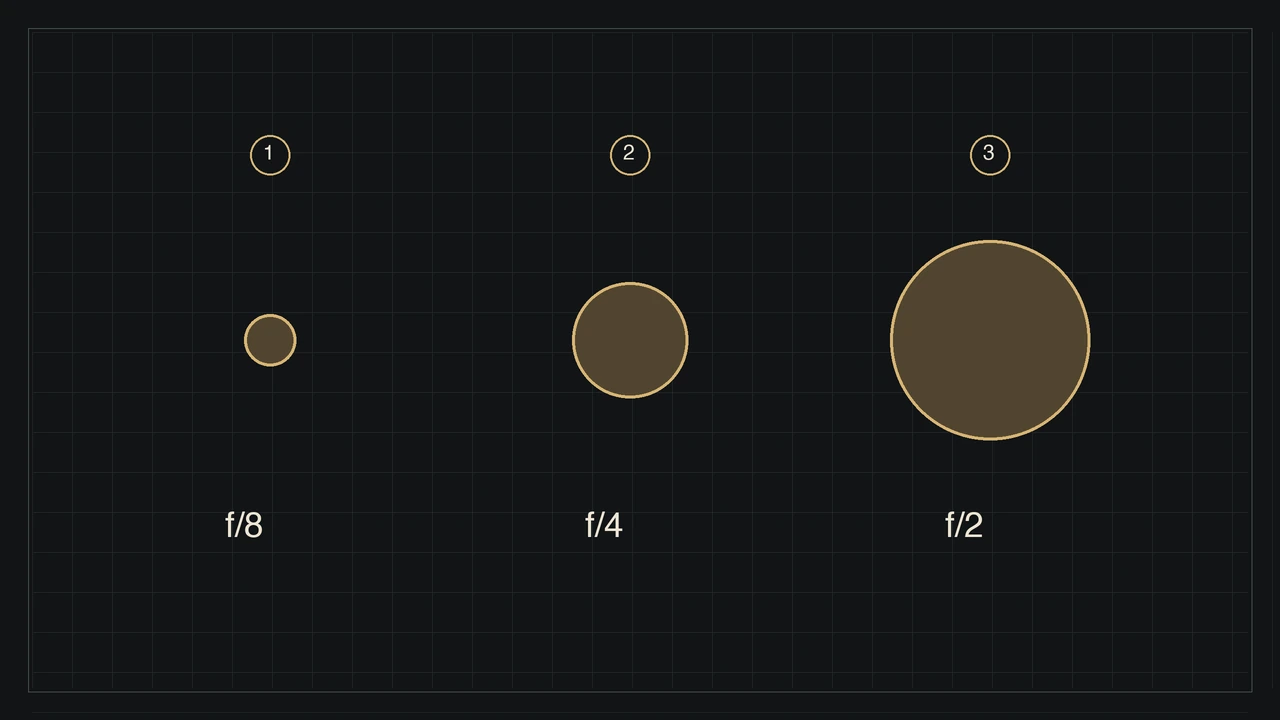
With lens, framing and focus unchanged, a wider aperture generally reduces depth of field and enlarges out-of-focus spots. However, stating “f/1.8” alone cannot predict a portrait. Focal length, shooting distance and the arrangement of the background all affect the conditions under which that aperture is used.
Moving the subject farther from the background can increase background blur without changing lenses. Conversely, a person directly against a wall has little separation from it. Before assuming a faster lens is necessary, try repositioning the subject and choosing a viewpoint that places distracting details farther away.
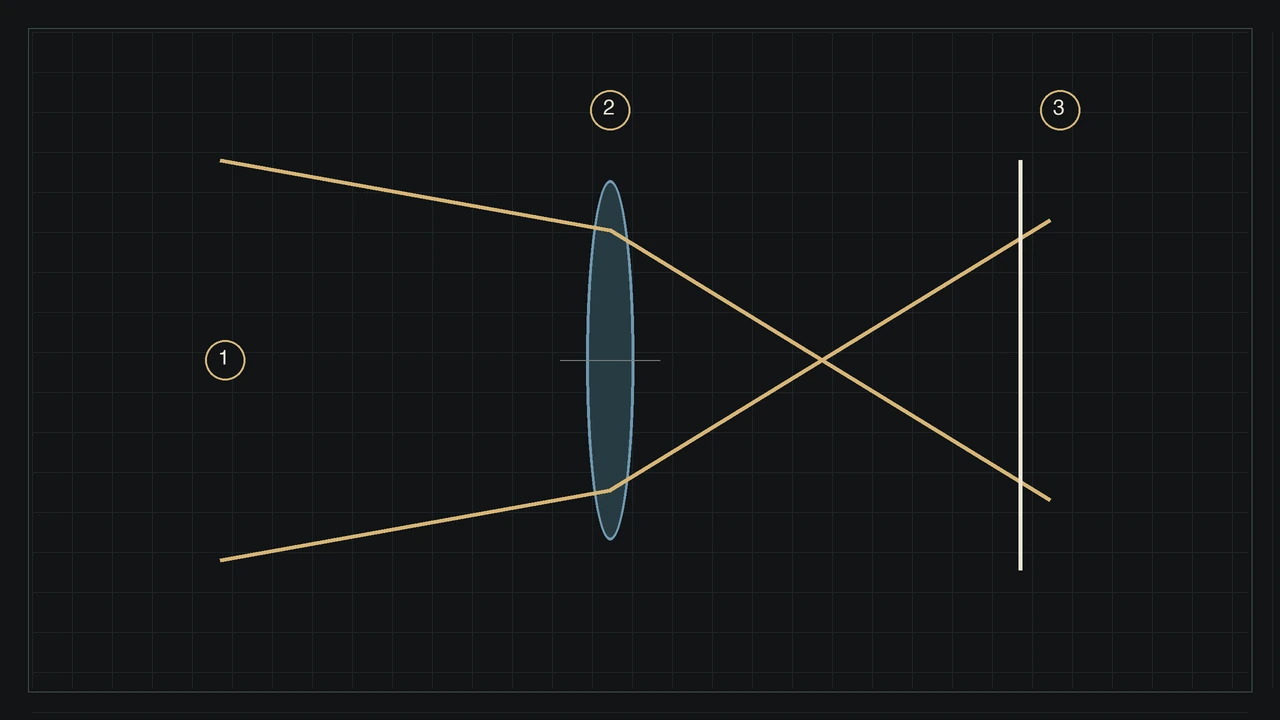
If you change focal length and move back to retain the subject’s size, several variables change together. The background perspective can change because the camera moved. Compare explicitly stated conditions instead of claiming that focal length alone explains every visual difference appearing behind the subject.
Why bright points become shapes
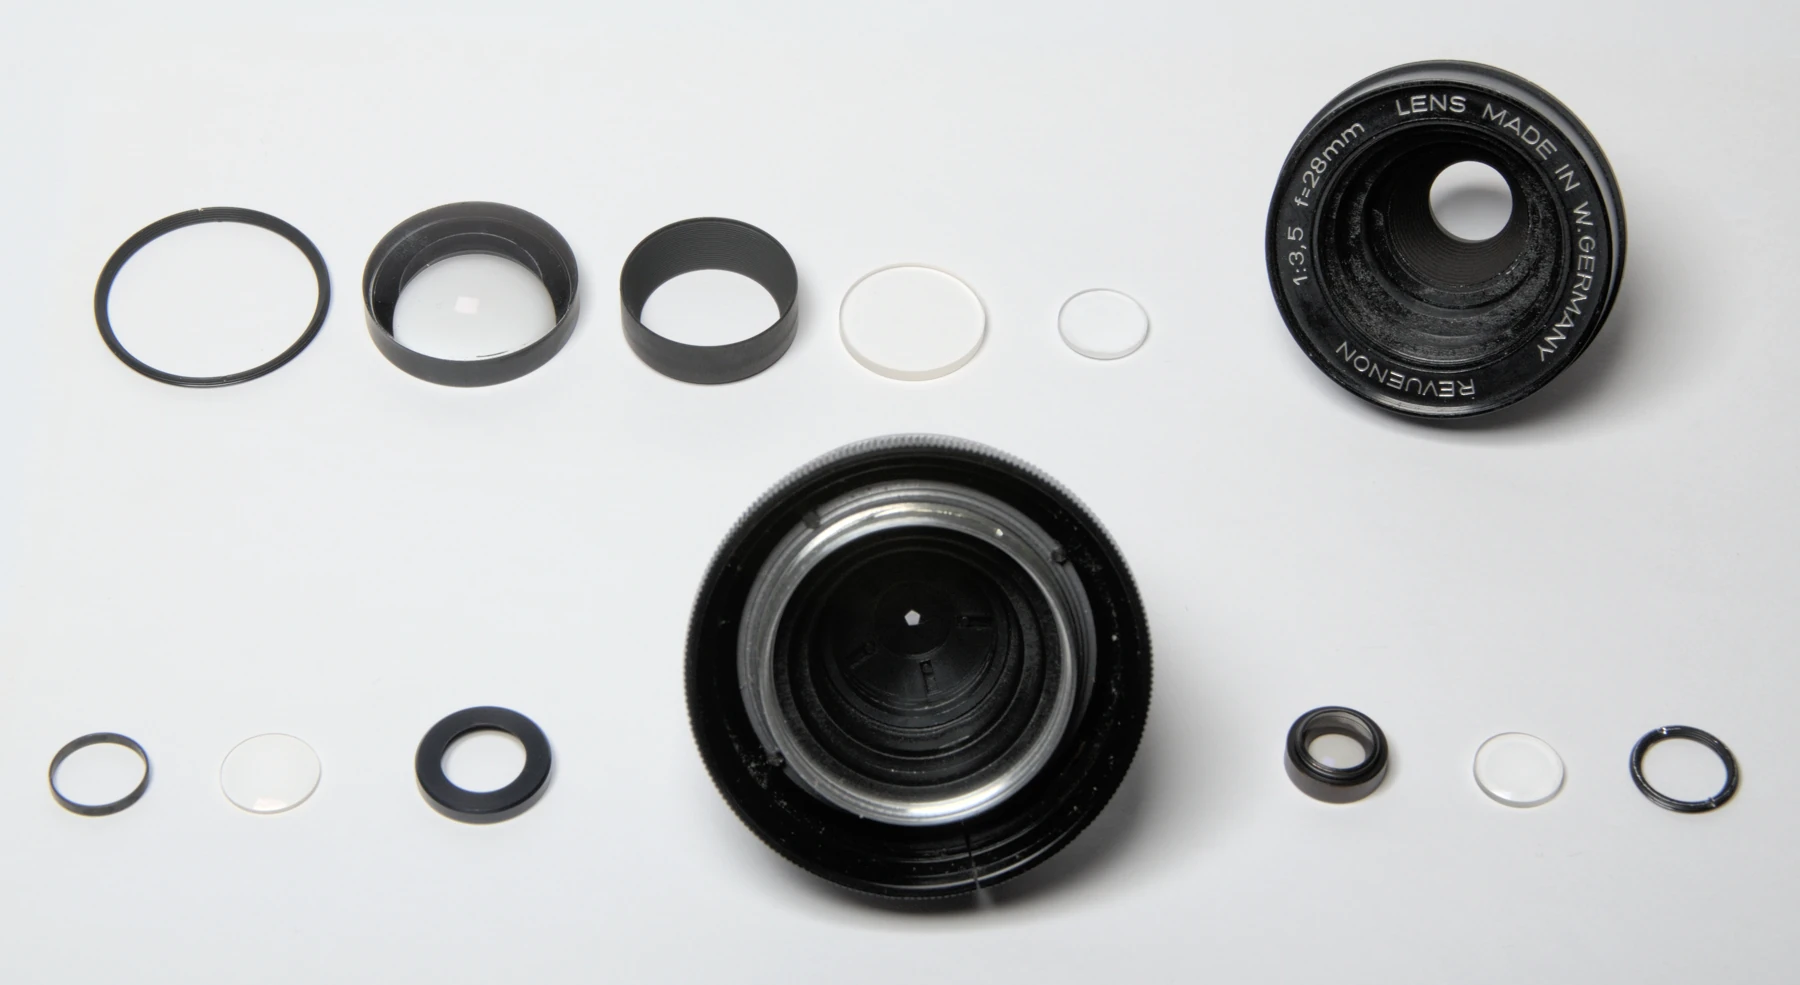
A point outside the focused plane is reproduced as an extended spot. Its outline can resemble the lens’s pupil. Stopping down to a polygonal opening may therefore create a different geometry from the one seen when the lens is used wide open, even though the background lights themselves remain unchanged.
The number and curvature of blades influence that outline, but do not fully describe how light is distributed inside it. Aberrations and optical design matter as well. Two lenses with the same blade count should not automatically be expected to produce identical backgrounds or identical transitions around the subject.
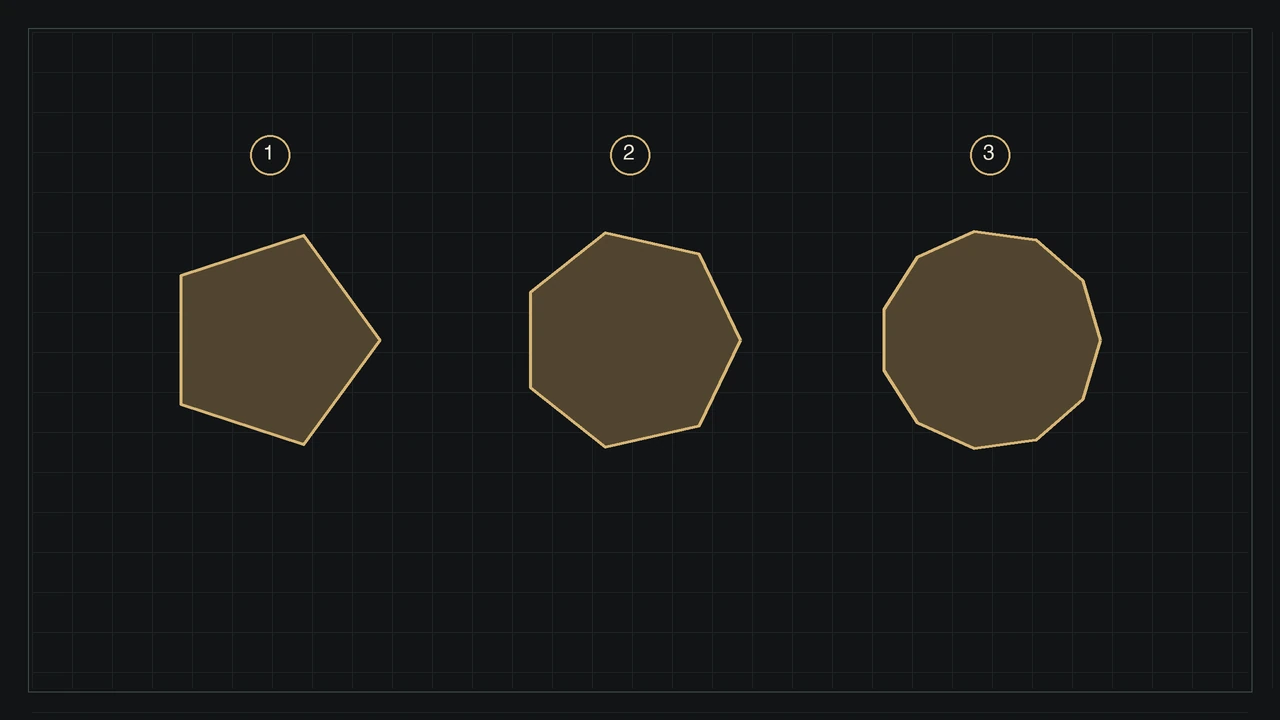
Near image edges, some spots can acquire a cat’s-eye appearance. Off-axis rays do not necessarily pass through the same effective opening as central rays. This characteristic depends on field position and settings; its presence alone should not be treated as evidence of a manufacturing defect in the lens.
The background helps draw the bokeh
Fine, high-contrast branches can create a restless background while a plain wall looks gentle through the same lens. The placement, colour and pattern of bright details matter. A photograph of decorative lights therefore cannot summarise every aspect of how an optical design will behave in ordinary scenes.
Look at transitions from focused subject to background, rather than only the largest bright discs. An image may show regular circles yet produce doubled-looking outlines in foliage. Inspect several distances and patterns before describing a lens’s overall rendering as smooth, nervous or suitable for every portrait.
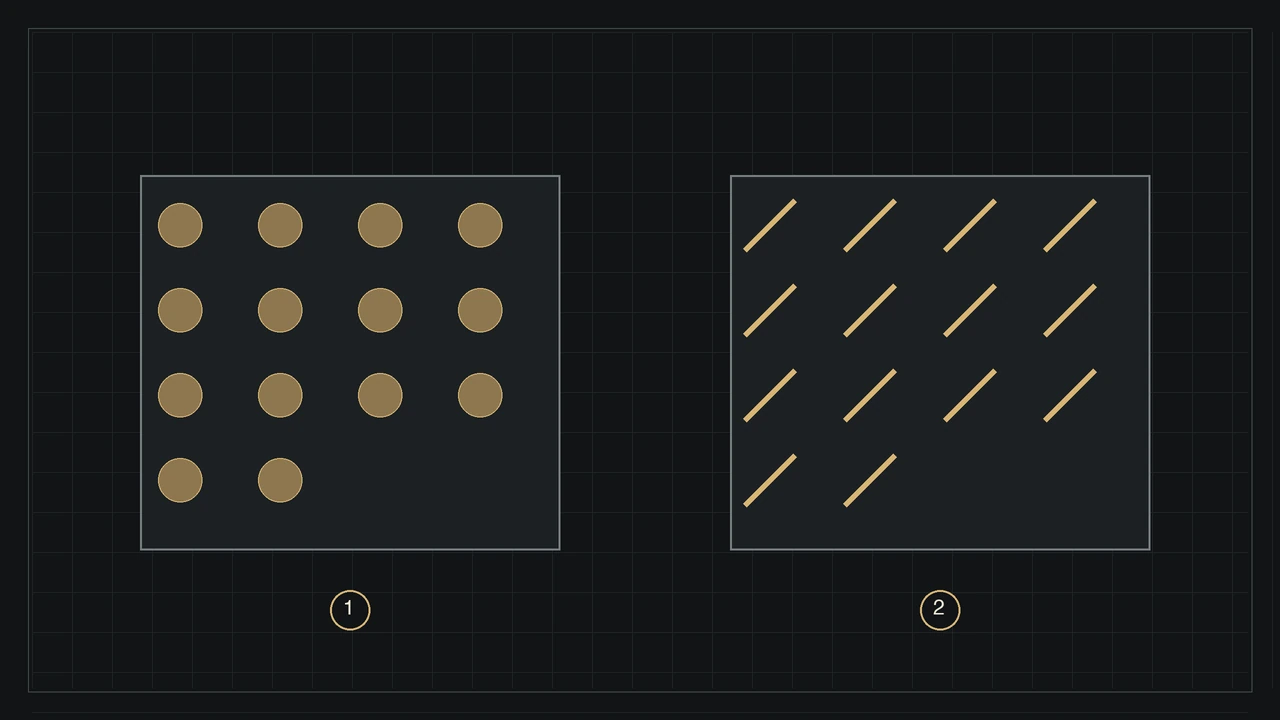
Foreground blur may differ from background blur. Explanations involving aberrations require specific conditions and cannot be reduced to a single universal score. To choose a character, begin with your normal subjects and real output needs instead of assuming there must be one technically best-looking bokeh for everyone.
A small experiment rather than an invented measurement
Place a subject before a background containing small lights and fine lines. Keep the camera position fixed and photograph several apertures, compensating shutter time for comparable exposure. Maintain focus, then inspect the focused region, transitions and background spots as separate parts of the same comparison.
Make another series by changing only subject-to-background distance, then one changing shooting distance. Record what varies. A carefully labelled comparison can explain a relationship without becoming a laboratory test, a complete lens evaluation or a prediction of how every future portrait will necessarily look.
Diffusion, glow and digital blur are distinct interpretations rather than the optical bokeh recorded during capture. In Kolorshift, avoid attributing the physical history of an unused lens to a digital setting. Read focal length and perspective to extend the distinction between capture geometry and later interpretation.
Sources and further reading
From reading to making images
Discover Lens FXKeep exploring
All stories
Focal length changes the frame. Your position changes perspective.
Wide angle, telephoto and compression: understand what changes when you zoom, crop or move the camera.
Read the story
A lens is more than glass.
From optical glass and polishing to coatings and assembly: the steps and compromises that shape a photographic lens.
Read the storyShare this article
An idea worth passing on.