
Optics
Diffraction: why stopping down does not make everything sharper
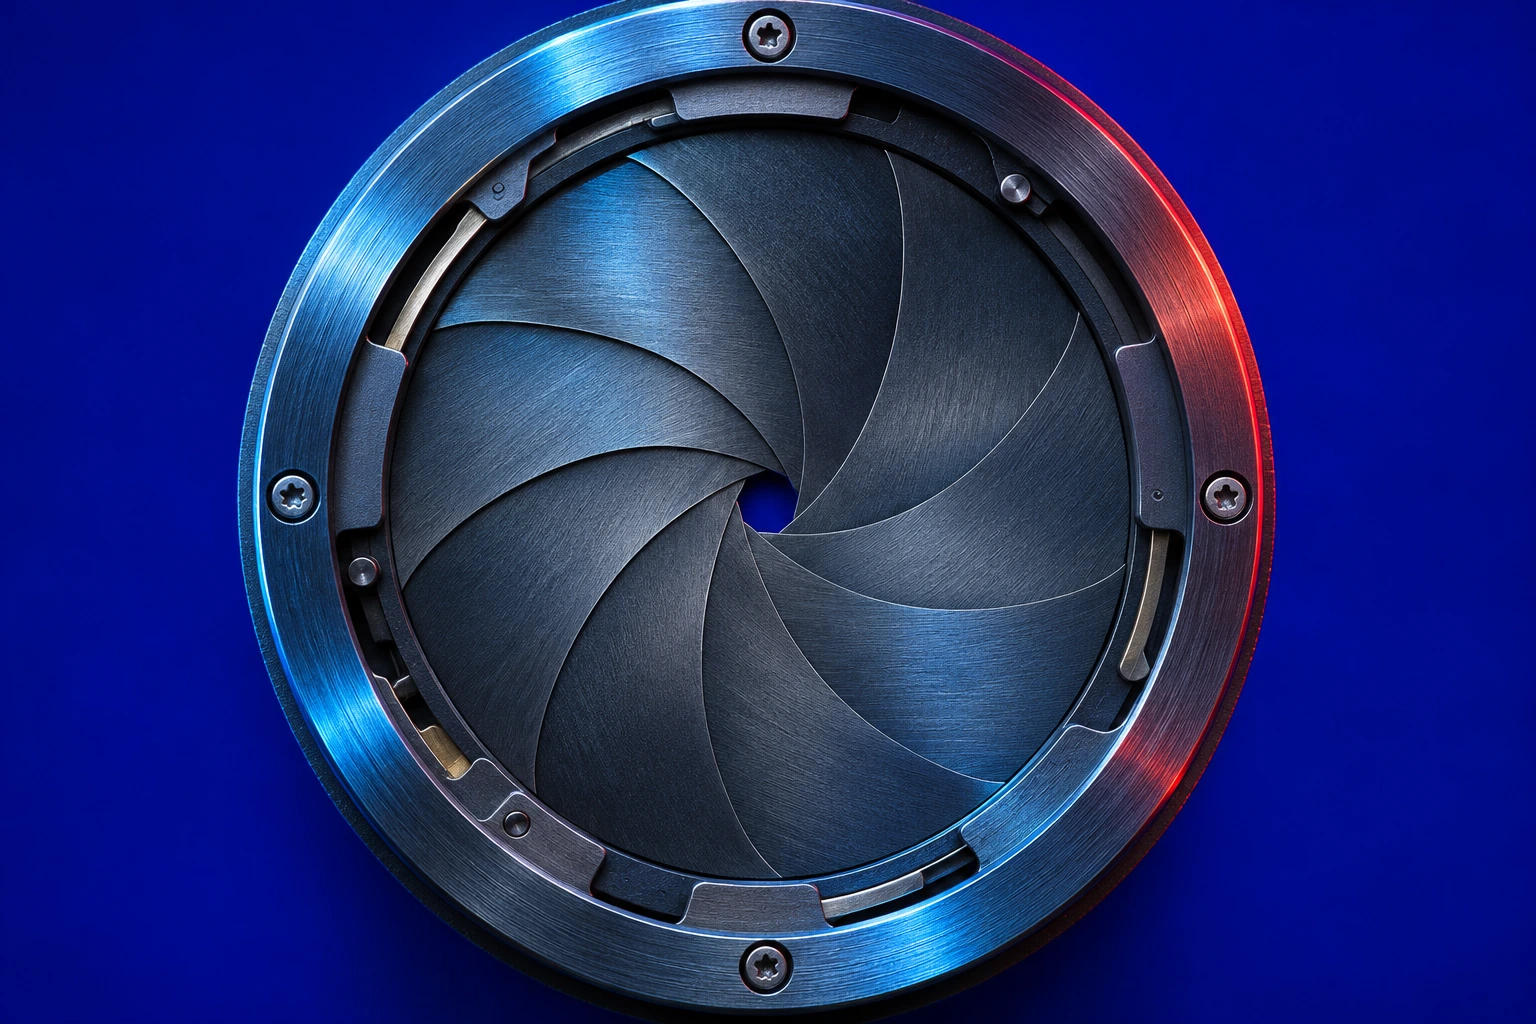
A leaf in the background becomes clearer, while fine veins at the focused distance lose a little contrast. Stopping down improves some aspects of an image while weakening others. Diffraction explains part of this trade-off on film as well as digital cameras.
Remember this
Diffraction exists at every aperture. Its visibility depends on the other limits in the image and on presentation. Choose an aperture for the subject’s depth, motion and final image size; there is no universally forbidden setting.
A point of light never becomes a perfect point
The familiar lens diagram shows rays meeting exactly on the film. It is useful for explaining focus, but leaves out the wave nature of light. A finite aperture produces a spread of illumination. Even an ideal, perfectly focused lens cannot turn a point in the subject into a mathematical point in the image.
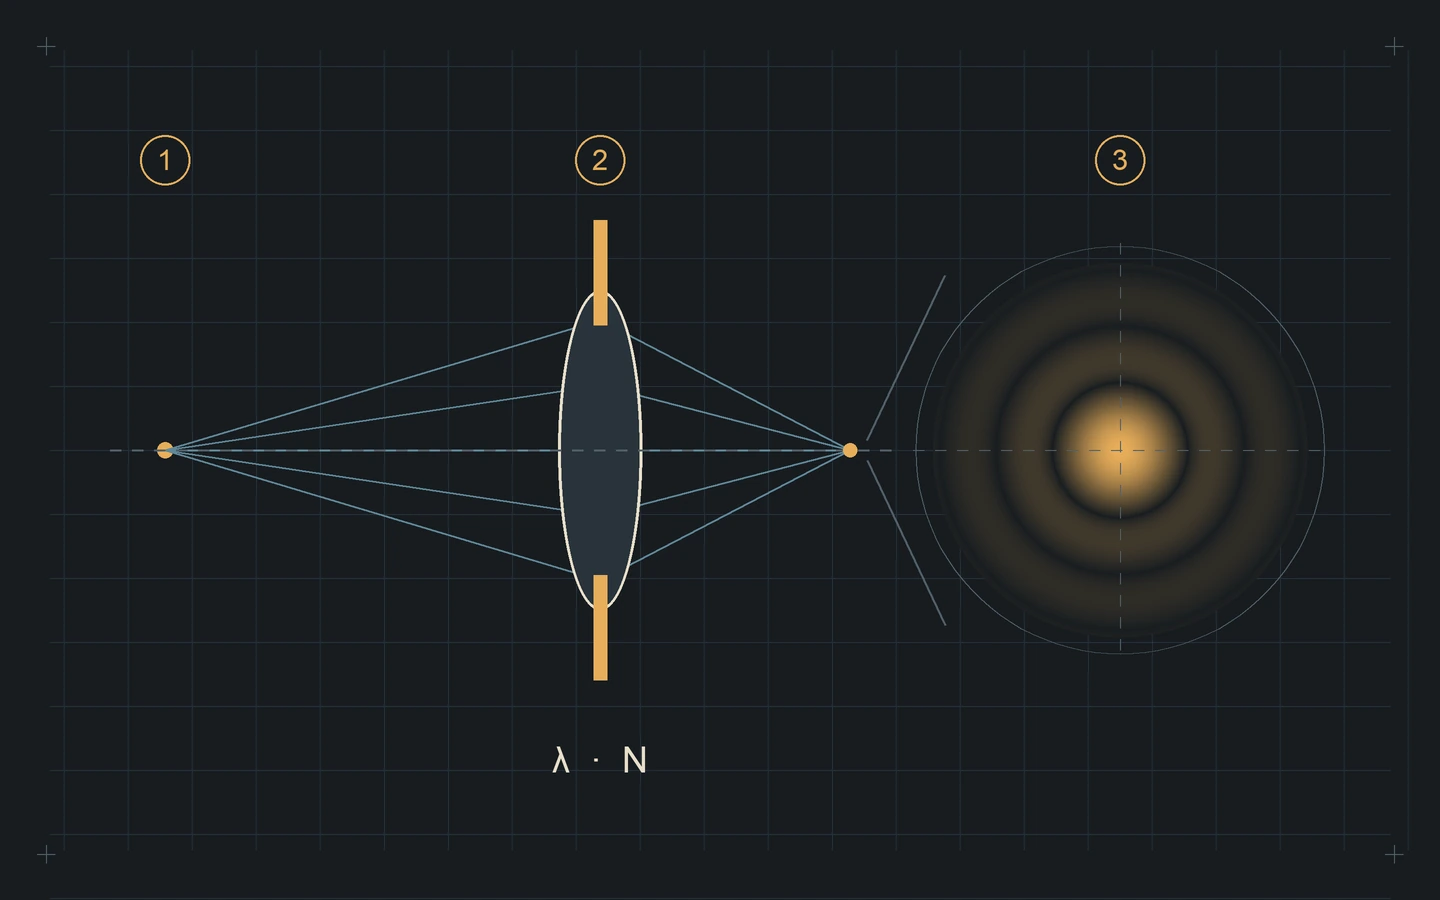
For an ideal circular pupil and a single wavelength, the distribution has a bright central region surrounded by weaker rings. The Airy disk is the central region out to the first dark minimum. Those rings are not scratches in the glass. They belong to the system’s wave response; a polygonal opening produces a different distribution.
In an ordinary photograph, contributions from countless points overlap. You rarely see a collection of tiny rings. Instead, very fine detail loses contrast: a leaf vein becomes less distinct from the neighbouring tissue although the whole leaf remains recognizable. This change must be distinguished from the overall impression of sharpness.
The f-number changes the scale of the spot
For distant subjects, the usual ideal circular-pupil approximation gives a central disk diameter at the image plane of about 2.44 × λ × N. Here λ is wavelength and N is the f-number. At 550 nm, this gives about 10.7 micrometres at f/8 and 21.5 at f/16. These are model calculations, not measurements of a commercial lens.
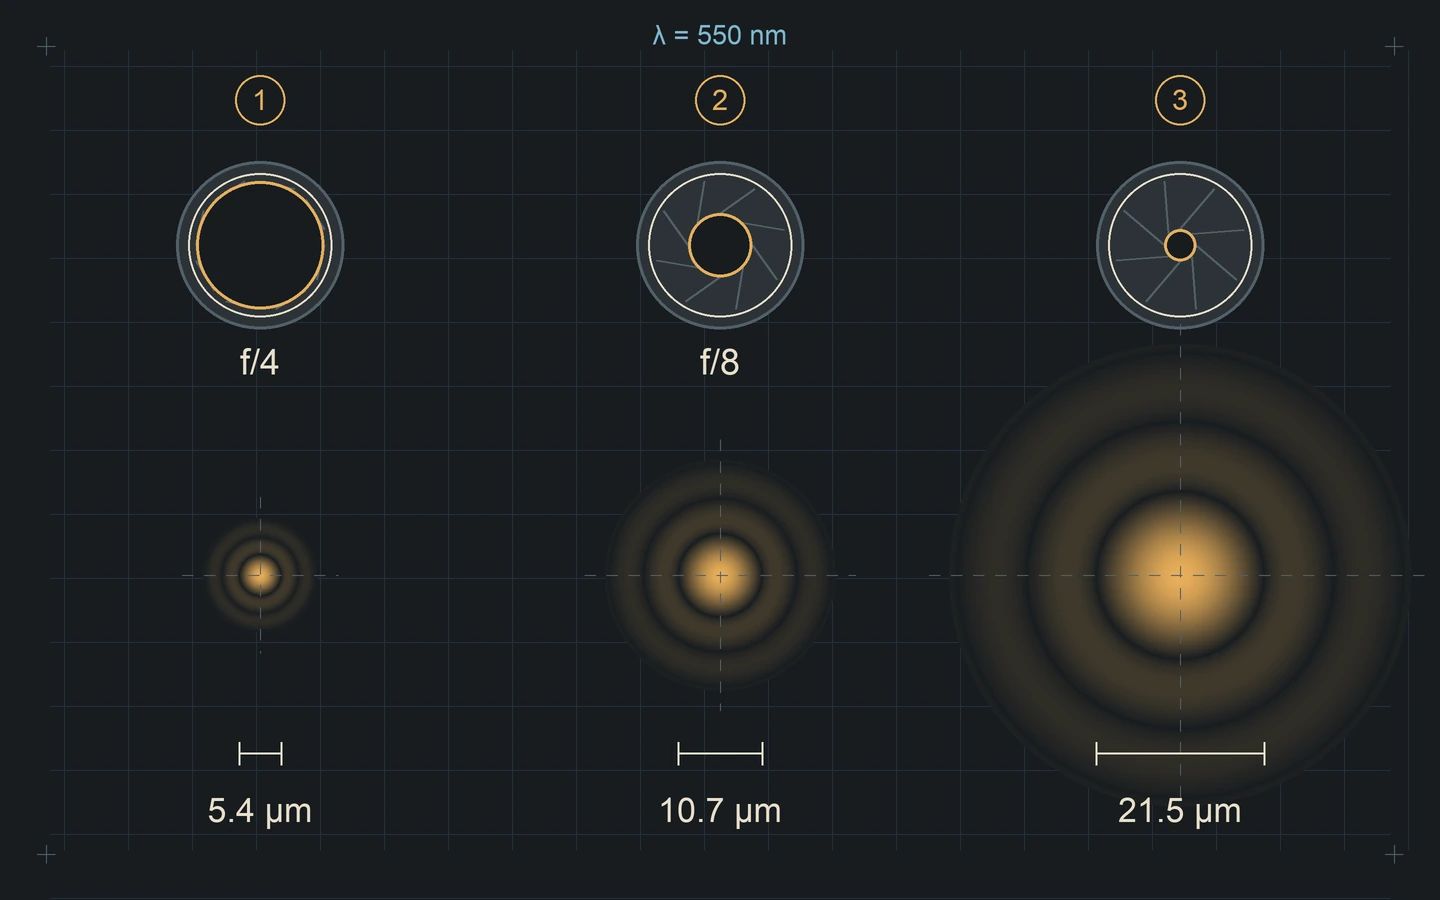
Doubling the f-number therefore doubles that diameter under the same conditions. Longer-wavelength red light makes a larger spot than blue. Real scenes contain mixtures of wavelengths, while aberrations and the recording medium add complexity. The calculated diameter is neither a compulsory grain size nor a simple count of pixels that will be lost.
An f-number is a ratio: the physical hole alone cannot compare lenses of different focal lengths. Close-up geometry introduces another issue. Effective aperture depends on magnification and pupil design. A table calculated for infinity should not be transferred uncritically to a macro setup with substantial extension.
Depth of field is different from maximum detail
Depth of field describes a tolerance: how much of a scene looks sufficiently sharp under chosen viewing conditions? Stopping down reduces geometric defocus in planes near the focused distance. A nearby tree and a distant mountain can become more readable together. It does not follow that the already focused plane keeps gaining resolution indefinitely.
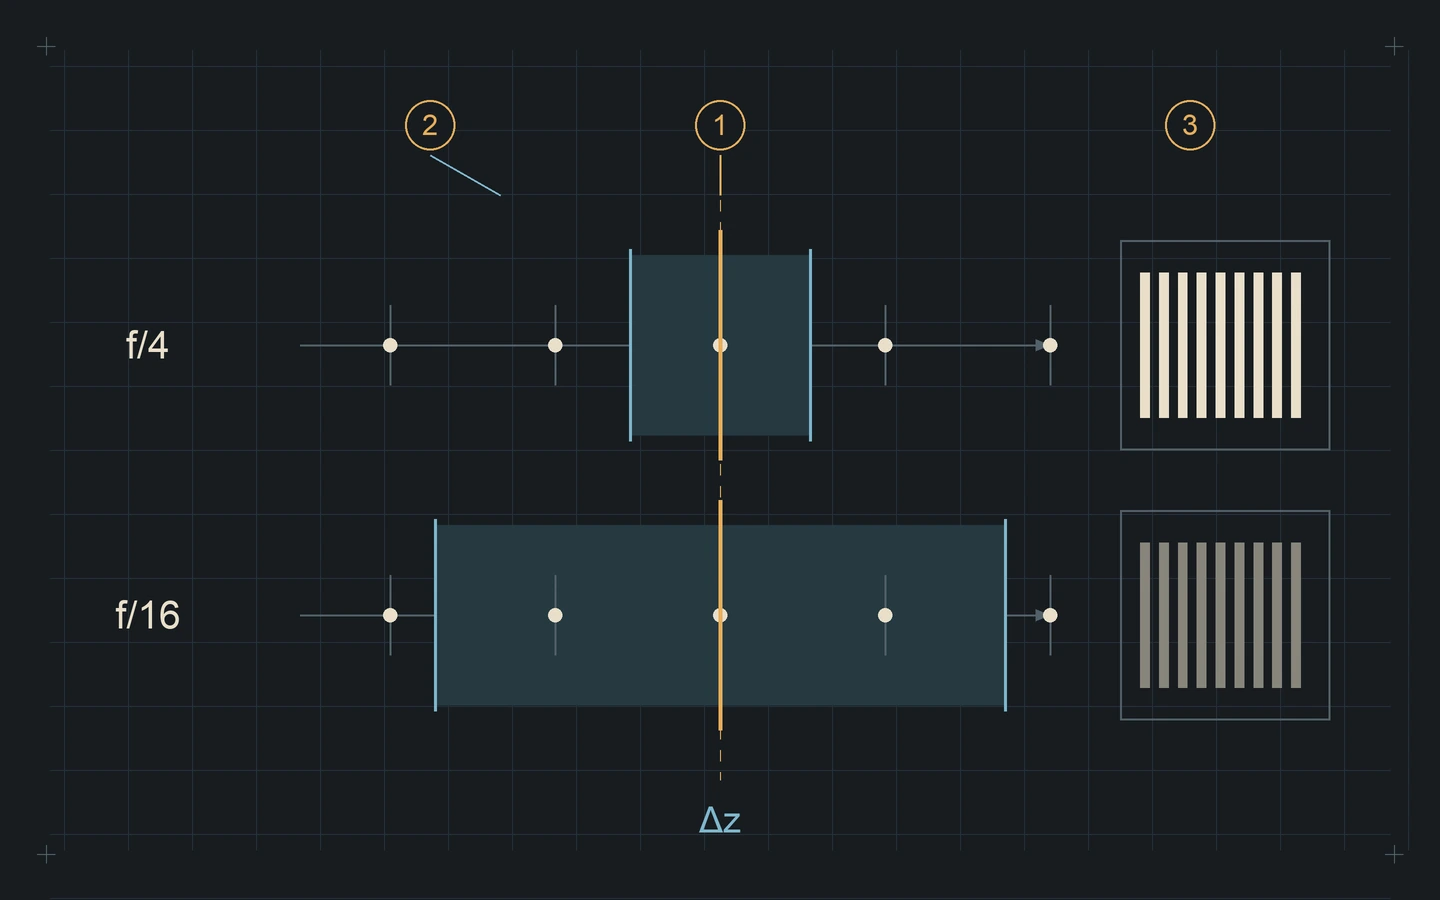
At wide apertures, real lens aberrations may weaken the centre, edges or particular detail contrasts. Moderate stopping down may reduce their contribution before diffraction becomes dominant. The balance depends on lens, position in the frame, distance and subject detail. The advice to stop down two stops is a possible starting point, never an optical law.
For a landscape, ask two questions: is the foreground readable, and does the main plane retain enough fine detail? A slightly softer f/16 frame may be more useful overall than an f/8 frame with distracting foreground blur. Conversely, when copying a well-aligned flat document, extra unused depth may not compensate for reduced detail.
Recording and enlargement determine what becomes visible
Diffraction happens before recording, so film is affected too. Grain, scattering within the emulsion, development, the enlarger and the scanner contribute further limits. These may hide a small difference between apertures, but they do not remove the optical phenomenon. A finely exposed negative cannot bypass the propagation of light.
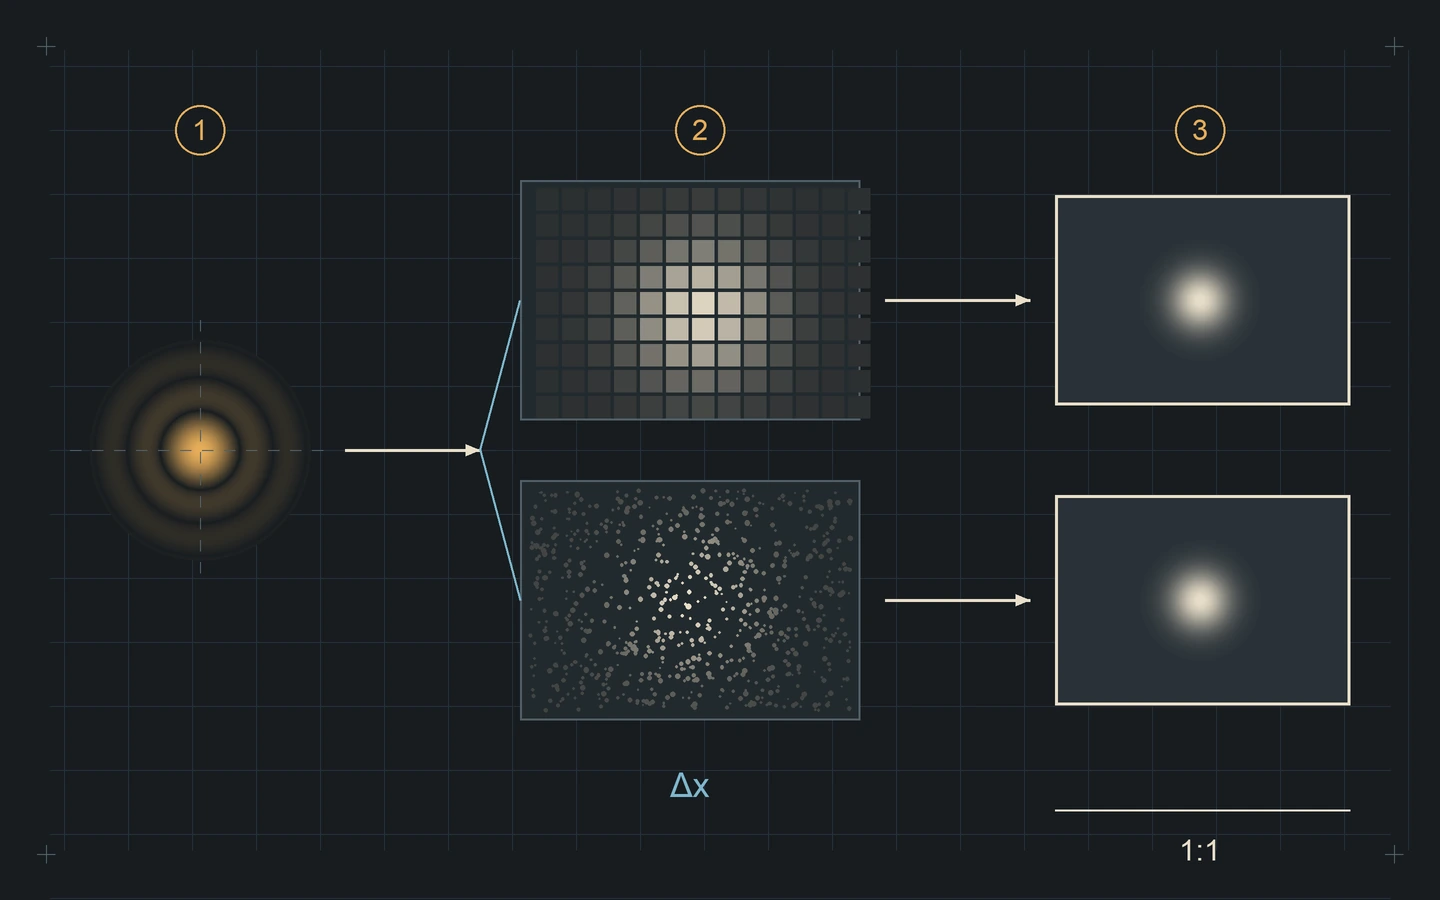
Smaller digital pixels can sample an already softened optical image more finely; they do not spontaneously make the lens worse. Viewing at 100 percent often changes effective enlargement when comparing different pixel counts. For a print, first compare outputs of equal size at a similar viewing distance, then inspect detail if that serves the intended use.
Sharpening changes edge contrast, while some corrections use a model of blur. They can improve readability without guaranteeing recovery of information that has disappeared or sunk below noise. A crisper-looking boundary is not necessarily better separation between two lines. In Kolorshift, film looks and sharpness controls remain digital processing.
A simple comparison helps you choose
Choose a still subject with fine detail and several distances: an open book, a textured object in front and a distant background. Stabilize the camera and keep framing and light constant. Make an aperture series, adjusting exposure time to keep exposure comparable. Check focus at each aperture so focus shift is not mistaken for diffraction.
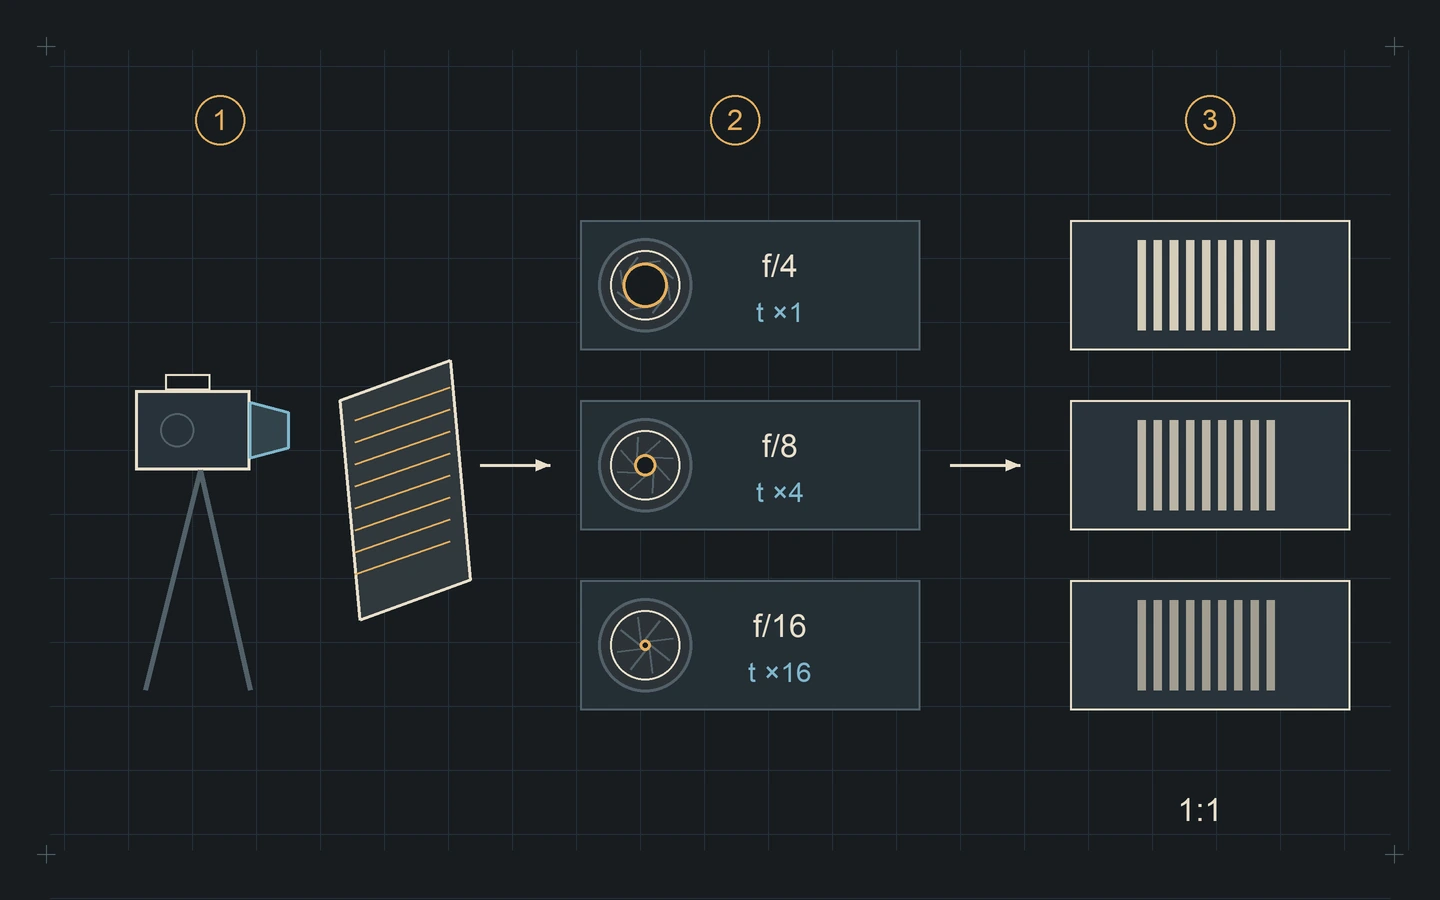
Moving leaves, an unstable support, excessive exposure time or automatic processing can confuse the result. Keep development or processing consistent and compare centre, edges and neighbouring planes separately. If stopping down requires a shutter time that blurs the subject, that practical constraint may matter more than the optical difference you meant to investigate.
Finally view the images at their intended size and make a deliberate choice. For a static scene, changing the focused distance or combining focus planes may help, although stacking introduces movement and boundary problems. The article on bokeh and depth of field continues the reasoning: choose for the photograph you need.
Sources and further reading
About this article
Written with the assistance of Codex and Astra, using the cited sources. The diagrams are educational; documentary photographs retain their authors and licences.
From reading to making images
Discover Lens FXKeep exploring
All stories
Bokeh is more than a blurred background
Depth of field, pupils and aperture blades: understand how much blur you get and how a lens draws it.
Read the story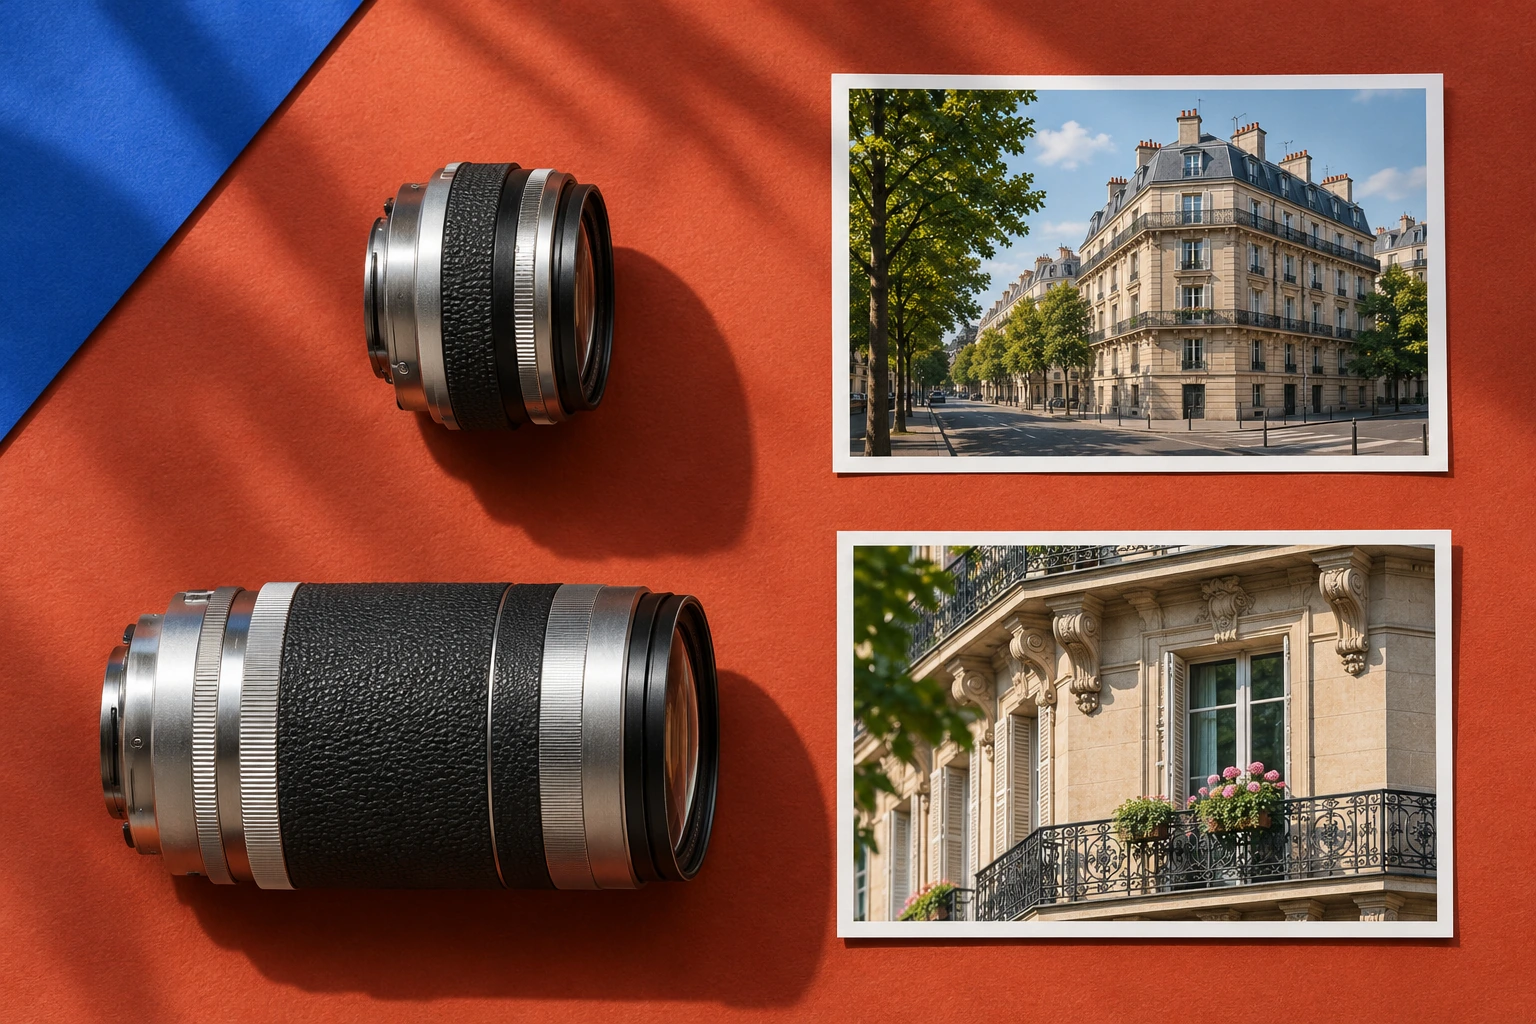
Focal length changes the frame. Your position changes perspective.
Wide angle, telephoto and compression: understand what changes when you zoom, crop or move the camera.
Read the storyShare this article
An idea worth passing on.