In the darkroom
Why use a coloured filter for black-and-white photography?
A red flower and its leaves may become nearly the same grey. Blue sky can blend with clouds. Black-and-white photography translates colour into densities rather than removing it before capture. A filter in front of the lens can alter that translation by changing the light that reaches the film.
Remember this
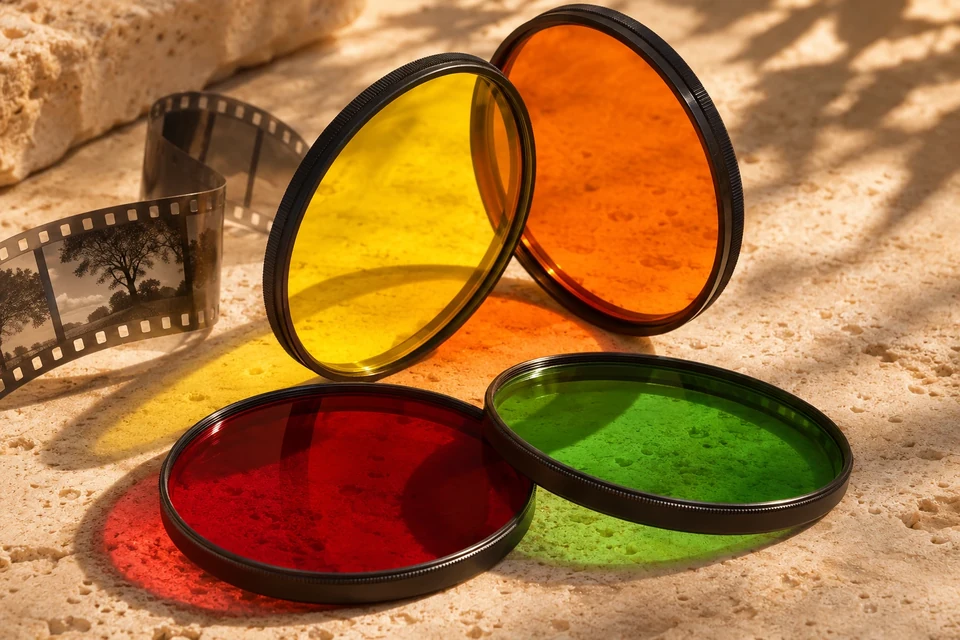
Filters transmit some spectral regions more than others, while films have their own sensitivity. There is no universal red-filter effect or one exposure factor for every product. The examples explain principles rather than measured predictions for particular subjects or materials.
Colour becomes grey through a physical chain
A surface reflects a spectrum determined by its material and illumination. A filter modifies what reaches the film, whose spectral sensitivity then contributes to the record. Two visibly different colours can consequently produce similar densities: a difference in hue does not guarantee separation in the finished black-and-white print.
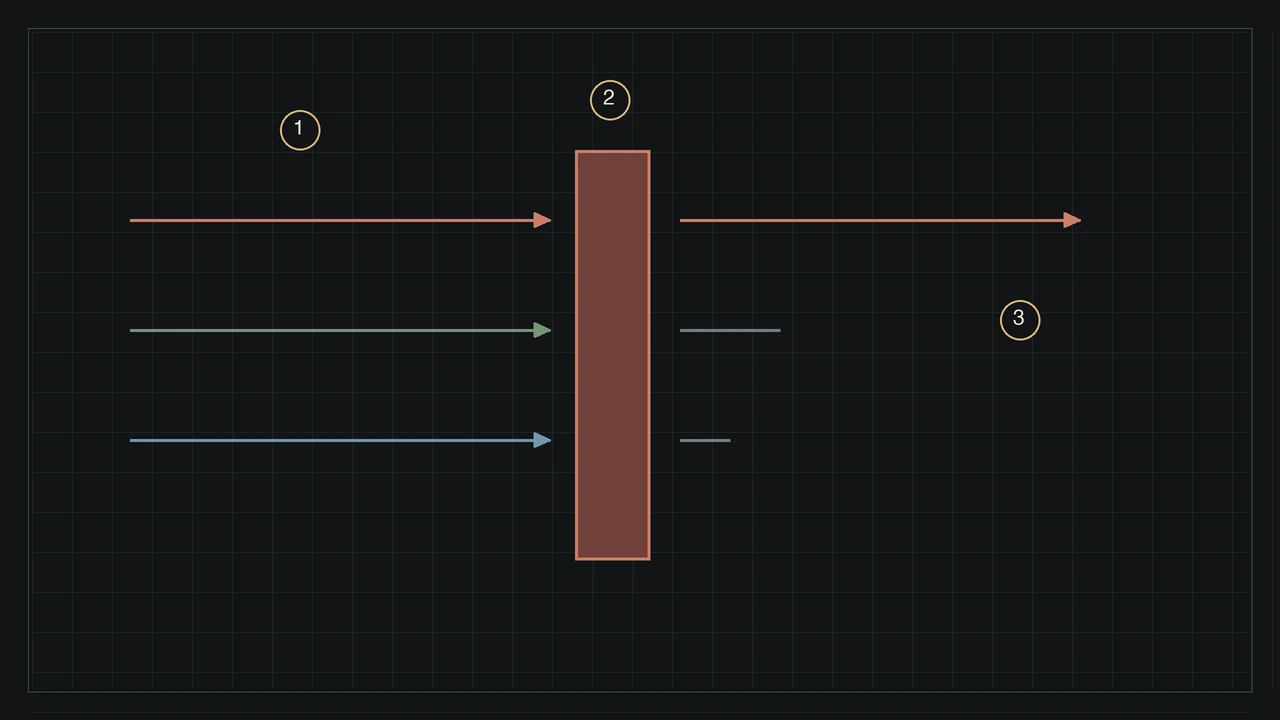
A coloured filter does not paint the negative with its own hue. It selects light before recording. With a suitable film, a filter favouring red can make some red objects relatively lighter than blue objects in the final photograph, after processing and the reversal of negative values during reproduction.
This is a relative relationship: a fabric’s actual spectrum, the illumination and the filter’s transmission curve all matter. A red sign and red skin are not the same spectrum. Colour names help you reason about a scene without fully describing the physical light travelling into the lens.
Yellow, orange, red and green serve different intentions
Yellow filters are often used to improve separation between blue sky and white clouds, with a less pronounced effect than a red filter. Orange may strengthen that distinction. Dramatic skies are not guaranteed: overcast conditions, different light or another film can create a much less striking relationship.
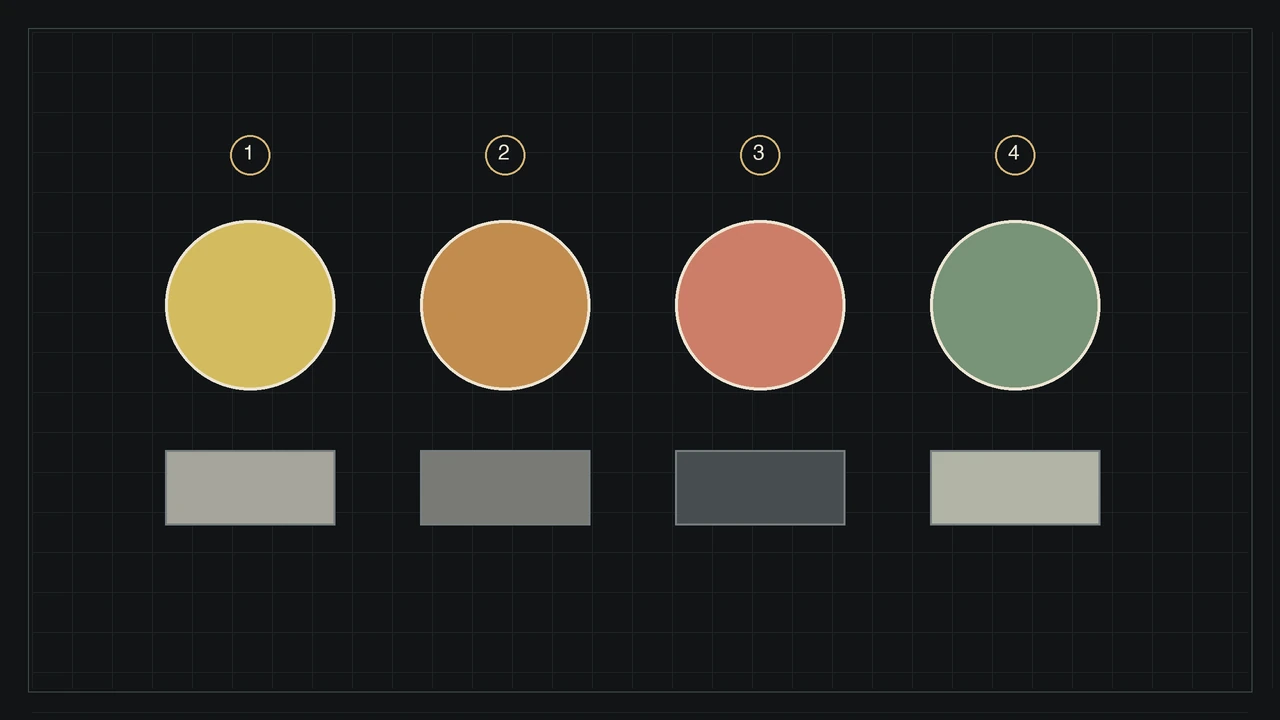
A red filter can strongly change some tonal relationships and relatively lighten materials reflecting red. Green filtration may help distinguish foliage and change the rendering of skin tones. None of these choices should be treated as a universal overall-contrast button that affects every object in the photograph equally.
Before a portrait, consider which material differences you want to preserve. An effect you like in clouds may be less suitable for lips or a garment. Choose filtration according to the relationships within the subject rather than assuming the strongest available effect must always be the most useful or attractive one.
Black-and-white films do not all see the same spectrum
A panchromatic film responds across much of the visible spectrum, but not necessarily with uniform sensitivity. An orthochromatic material such as ORTHO PLUS has a different response to red. The film-and-filter combination therefore explains more than the filter’s name alone when predicting a useful starting point.
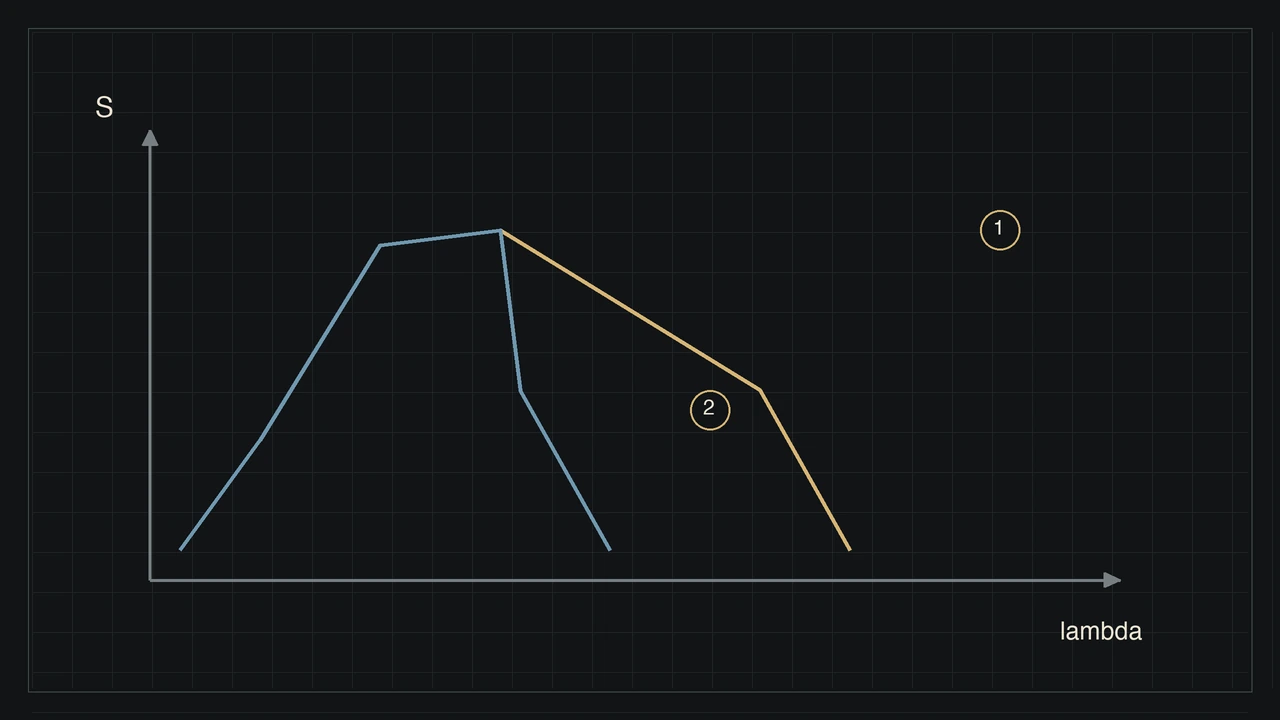
A very deep red filter in front of material that does not usefully respond to that light may leave little usable information. A recipe for panchromatic film cannot automatically be transferred to an orthochromatic emulsion. Check the spectral response and the guidance for the exact product you intend to expose.
SFX 200 extends its sensitivity toward red and can produce a distinctive rendition with suitable filtration. This does not mean every ordinary film becomes infrared film when you add a dark filter. Keep documented product behaviour separate from a creative appearance that merely resembles some of its visual characteristics.
Filters reduce light: measure and verify
A filter factor describes an exposure extension under defined conditions. A factor of two corresponds to one stop; four corresponds to two stops. This calculation does not establish the actual factor for any yellow or red filter. First read the documentation for the particular product, film and lighting context.

Through-the-lens metering may account for attenuation, but the meter’s spectral response is not necessarily the film’s. Orange and deep-red filters can therefore produce unsuitable indications. ILFORD data sheets mention the limitation and recommend practical tests; a TTL reading should not automatically be regarded as infallible.
Record stock, filter, lighting and the compensation used. If filtration creates a long exposure, check reciprocity as well. Account for filtration in the metered exposure before applying the film’s recommended correction to that duration, as explained in the long-exposure article.
A separation experiment rather than a fake physical simulation
Photograph red, green and blue objects made from different materials, with a light and a dark reference area. Keep light and framing consistent. Compare an unfiltered frame with properly exposed filtered ones. Request consistent reproduction so automatic scan adjustments do not become confused with the effects of filtration.
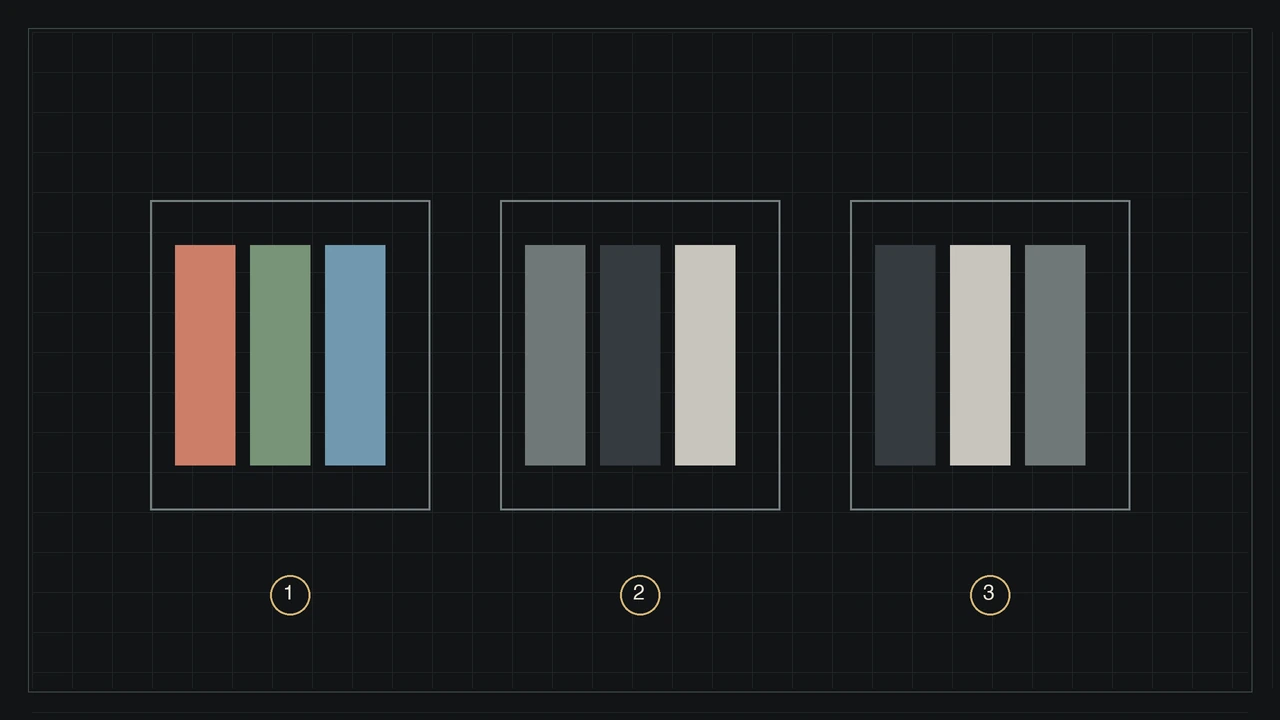
Look for surfaces that separate or converge in grey. The diagrams explain a principle without predicting a particular sky or face. Keep material names and lighting conditions alongside a useful comparison: that physical context is precisely what an ordinary screen-based colour chart cannot fully represent by itself.
A monochrome channel mixer can reinterpret a colour file, but cannot recover all original spectra. If an image has already been reduced to one grey channel, the lost colours are unavailable for that calculation. Kolorshift looks remain digital treatments, distinct from optical filtration applied before a physical film exposure.
Sources and further reading
About this article
Written with the assistance of Codex and Astra, using the cited sources. The diagrams are educational; documentary photographs retain their authors and licences.
From reading to making images
Explore filmsKeep exploring
All stories
Why the same colour changes under different light
Light spectra, metamerism and white balance: understand why skin, clothing or a print can change colour with the lighting.
Read the story
Long exposures on film: why ten seconds may need more time
Reciprocity, ND filters and changing light: plan a long exposure without applying one correction to every film.
Read the storyShare this article
An idea worth passing on.