


Understanding
Halation: why bright lights spill across film
A sign at night, a window against a dark wall, a reflection on metal: some film photographs show a halo around bright highlights. Halation is not larger grain or a blur applied at random. It starts with a light path inside the film. Understanding that path explains why the halo is not always red and what anti-halation protection actually does.
Remember this
Film halation involves secondary exposure within the material. Its colour and visibility depend on the film and scene. No remjet does not mean no anti-halation protection. A diffusion filter can produce a similar-looking highlight halo by a different mechanism.
Light returning towards the emulsion
On its first journey, light passes through sensitive layers and records the latent image. Some light can continue into the support, reflect at its interfaces and return towards the emulsion. The returning light exposes nearby areas beyond the primary path: this is the halation mechanism described by Kodak. Recording is no longer confined to the outline produced by direct light alone.
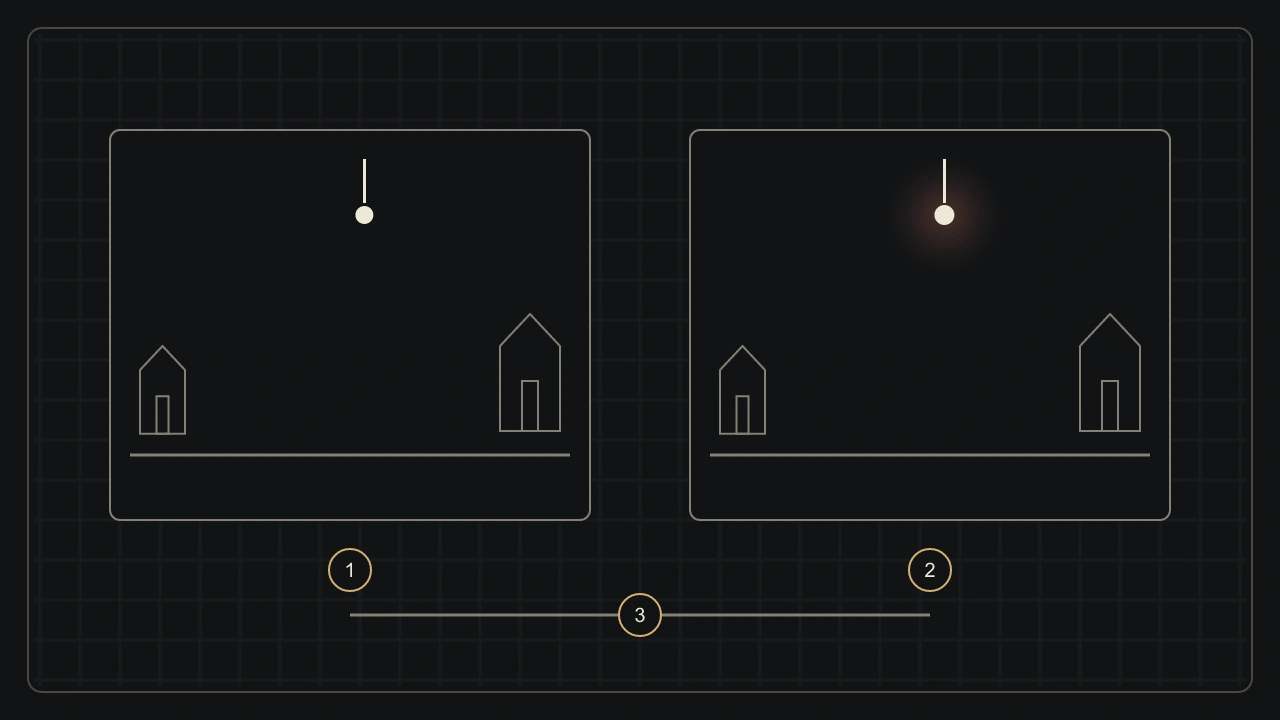
Consider a small white lamp against a very dark facade. Its main image may be sharp while a small amount of redistributed light becomes visible in the neighbouring dark tones. That halo belongs to the photographic recording; it does not prove that the real lamp illuminated the wall in precisely that shape. The diagram separates the primary and returning paths to explain the difference.

This should be distinguished from scattering in a lens, a filter or the atmosphere. Several effects can overlap in one photograph. Appearance alone cannot always identify the cause: knowing the film, equipment and shooting conditions helps interpret what you see. The drawing is a conceptual explanation, not a measured cross-section of a particular stock.
Why are halos often red or orange?
Red-orange halos are particularly associated with some night photographs on colour film. CineStill describes this signature around strong highlights on its 800T stock. That example is not a general definition of halation. The phenomenon also occurs on black-and-white materials, where it cannot create a red ring in the silver image itself.
In a multilayer colour film, the layers have different spectral sensitivities, and the outward and returning light paths need not contribute equally to each layer. The visible halo depends on this construction, the source spectrum and the reproduction of the negative. A red halo is not red pigment spread around every bright object: it is the appearance of a particular photographic response.
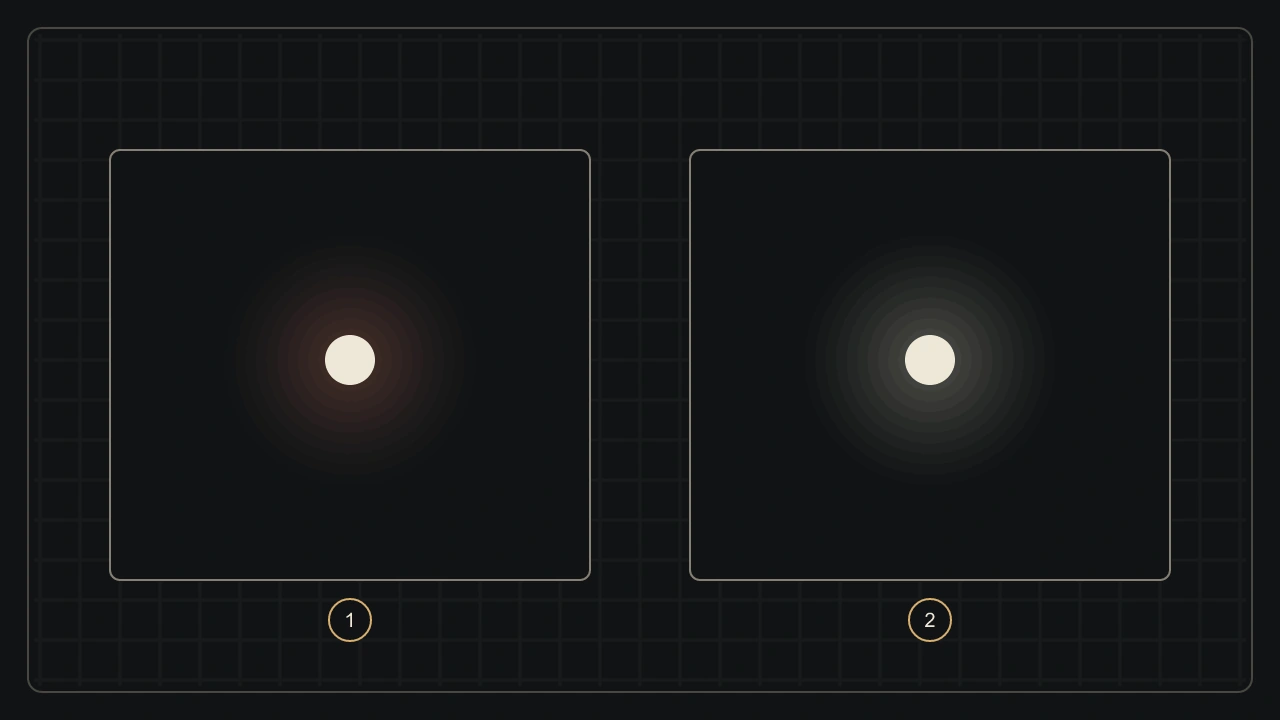
Look around intense highlights rather than for warmth spread across the whole frame. Colour balance, genuinely illuminated red surfaces or chromatic lens fringes can produce other coloured clues. Halo colour is informative, but its presence or absence cannot by itself certify a particular film. A photograph is evidence of a result, not a complete manufacturing specification.
Remjet, absorbing layers and the AHU structure
Anti-halation protection absorbs light that might otherwise return to the sensitive layers. Remjet is a historical solution on certain cinema films: a black carbon-based backing removed during the specified processing. It also serves other functions. The word is neither the generic name for every anti-halation layer nor a feature required on every photographic film.
In 2025 Kodak introduced a VISION3 evolution using an Anti-Halation Undercoat, or AHU, beneath the emulsion layers instead of the rear remjet backing. Its technical documentation explains this protection. Saying that any film without remjet must produce large halos would therefore be wrong: a different layer arrangement can control returning light.
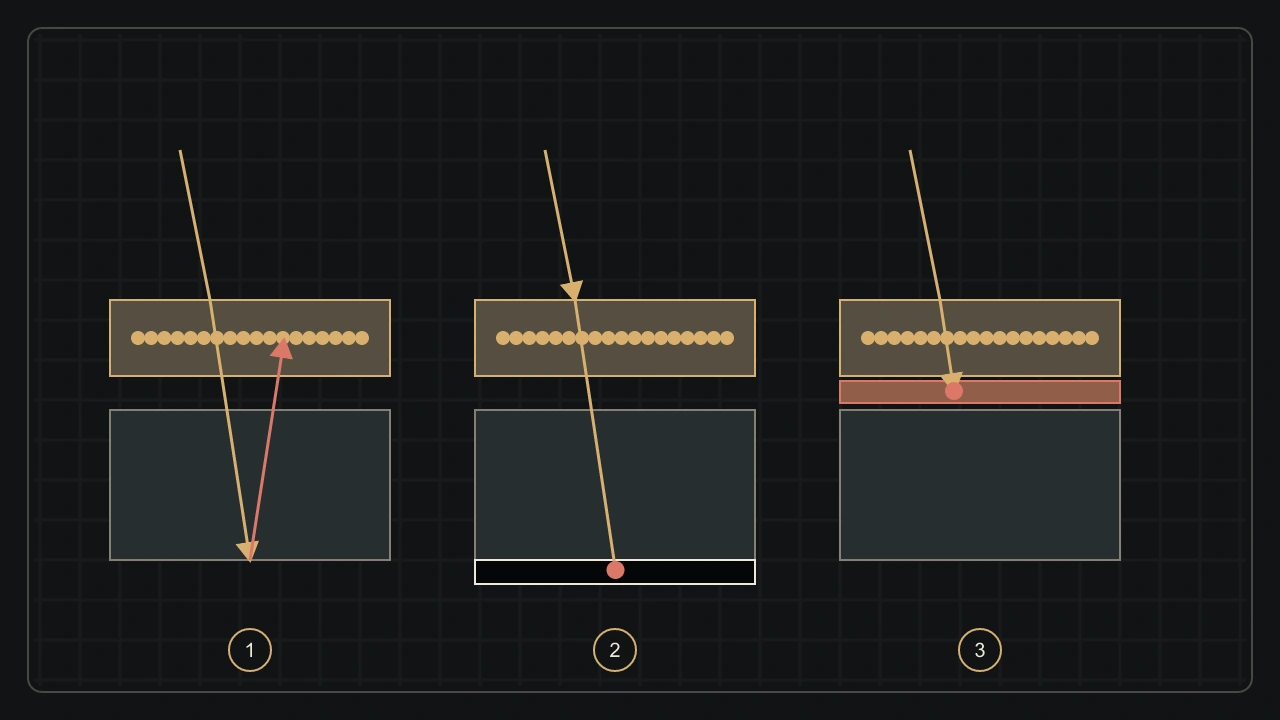
The diagram shows conceptual positions, not an industrial formula or actual layer thicknesses. Check the exact product and its documentation for a particular roll. Do not remove a layer to experiment with an effect: this changes the material and its processing requirements. A laboratory needs to know which film it is receiving rather than infer a process from an attractive sample image.
The scene matters as much as the film name
A small halo is easier to see when a strong light is surrounded by dark tones. Against an already bright background, a comparable contribution can blend into the image. This change in visibility does not mean that the film has changed its formula. Local contrast and the space occupied by the source influence what the viewer can distinguish.
Specular reflections, windows and illuminated signs make useful test subjects. They are not a reason to overexpose the entire photograph indiscriminately. A sky or a face that loses important detail does not improve because a halo appears elsewhere. Seek a balance between the subject, the bright sources and useful shadow information rather than the largest possible effect.
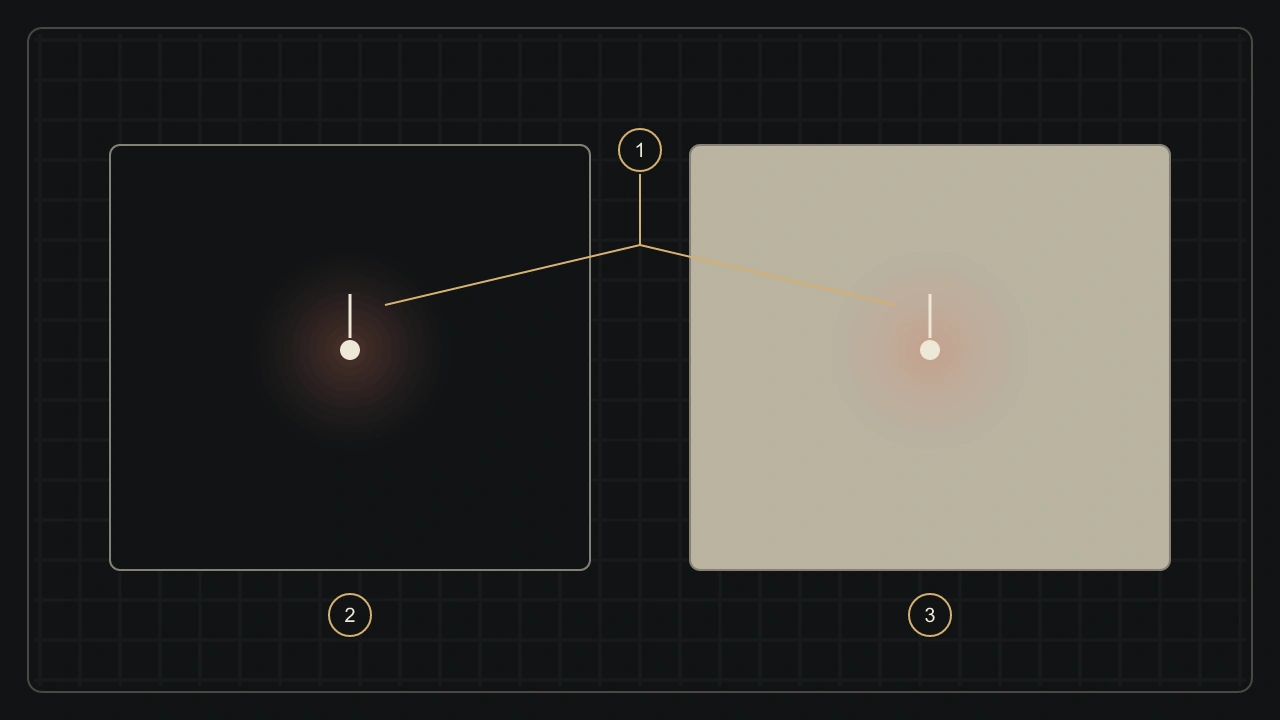
Scanning and reproduction contrast also affect bright edges. Excessive sharpening can create artificial outlines; colour adjustment can strengthen a fringe. Before attributing the whole appearance to film, inspect the negative and, if possible, request a more neutral reproduction. A scan is an interpretation, not a perfectly transparent window onto the original material.
Halation, glow and flare have different origins
A diffusion filter can spread light around sources and soften their transitions. Filter descriptions sometimes use halation for this appearance. That does not mean the glass created a reflection inside the film support. A visual name and a physical mechanism are not always the same thing. Context matters when reading a technical explanation or an effects control.
Flare and ghost images arise in part from reflections within the optical system. They can create a broad veil or shapes displaced from the source; anti-reflection coatings seek to reduce them. A defocused disc is another phenomenon: focus changes how a point is projected, without being evidence of film halation. These effects can coexist rather than replace one another.
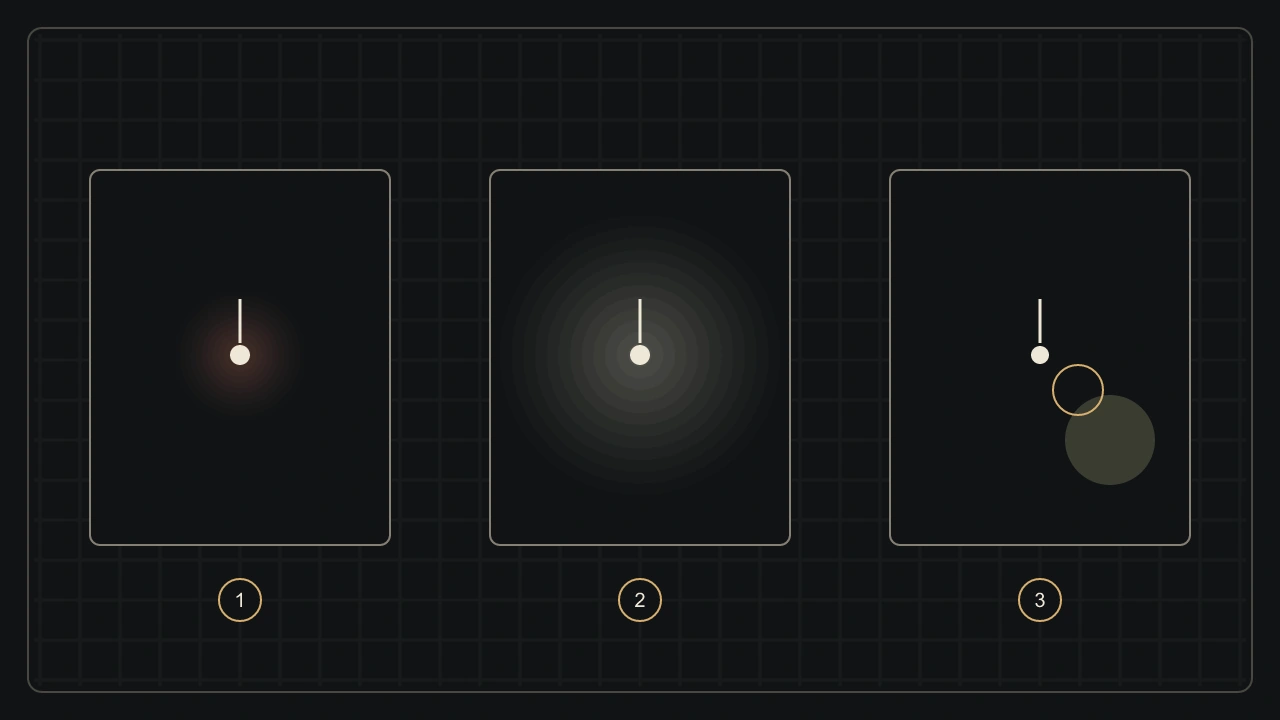
In practice, ask where the effect appears: close to a very bright boundary, across a large area, or in separate patches that move with framing? These observations guide an interpretation without replacing controlled testing. A lens, filter and film can combine several effects in one exposure, so a single screenshot rarely establishes the complete cause.
Make a readable test, then choose the look
Choose a stationary scene containing a strong light, a neighbouring dark surface and a properly lit reference detail. Record the film, lens, filter and exposure. Keep reproduction sizes comparable. This personal procedure is not an industrial measurement; it helps reveal what actually changes in your photograph instead of comparing unrelated pictures at different brightness levels.
Compare the source boundary, but return to the face, facade or detail you intended to photograph. A halo that looks attractive at a small size may become intrusive in a large print. Conversely, modest spread can connect the light with the scene’s atmosphere. The photographic question remains the subject, rather than achieving the maximum amount of an effect.
A software imitation of halation transforms an already recorded image. It can be expressive without proving that physical film would react identically. Keep a reference without the effect and judge the result at its intended size. Understanding the halo’s origin helps you choose it, rather than treating every glowing light as a magic cinema formula.
Sources and further reading
From reading to making images
Explore effects in Labo FXKeep exploring
All stories
Glow and bloom: where do soft highlights come from?
Diffusion, contrast, flare and focus: understand why lights seem to radiate and how to control the effect without losing the subject.
Read the story
Film grain: what you see and what the emulsion makes
Light-sensitive crystals, developed silver, dyes and enlargement: understand grain without treating it as a simple defect.
Read the storyShare this article
An idea worth passing on.